This past fall in our little half acre backyard we finally planted our big garden, something Weldon and I have always wanted to do since we’ve lived here. There’s just something that is satisfying to the soul when you get to bring produce that you grew to the table to eat.
There was one spot in the yard this year that I had all to myself -the herb garden bed. I love growing fresh herbs mostly because I love the accessibility. Just like eating a veggie that’s been homegrown, I get that same soul-satisfaction when I can incorporate my herbs into all my everyday cooking. The flavor is intensified to a whole new level.
Some herbs however have a small window of opportunity when they can be cut straight off the plant and used fresh. It’s important to harvest before they flower and begin to seed. Many times, I’ve bought a plant and couldn’t use it all up to cut for fresh before it flowered. So when I was left with a bed full of delectable herbs, I needed a way to preserve them, so I decided to use the microwave method.

When I learned that you can go from fresh herbs to dry and crumbly herbs in less than two minutes just by using your microwave, I was sold! I wanted something quick and easy that didn’t take days to complete (like air-drying) or require extra attention and counter space (like a dehydrator).
Here are some more benefits to making your own microwave-dried herbs:
- For the gardener: it utilizes harvest without as much waste (actually dried herbs are more concentrated in flavor, so you can use less)
- For fresh herbs bought at the market: use them all and have them around longer (since you usually don’t use the entire bunch anyways)
- For the time-saver: let’s you skip chopping since they are already dried and crumbled (just re-hydrate and you are ready to go!)
- For the impatient one: The project is done and over with quickly, no hanging bouquets or heating up the house with the oven.
- For the health conscious: add your dried herbs to your favorite seasoning mixes for extra nutrition and flavor (plus you’ll know exactly where they came from)
After using this method a few times, I learned some tips and tricks along the way to making it simple and fast, so let’s begin!
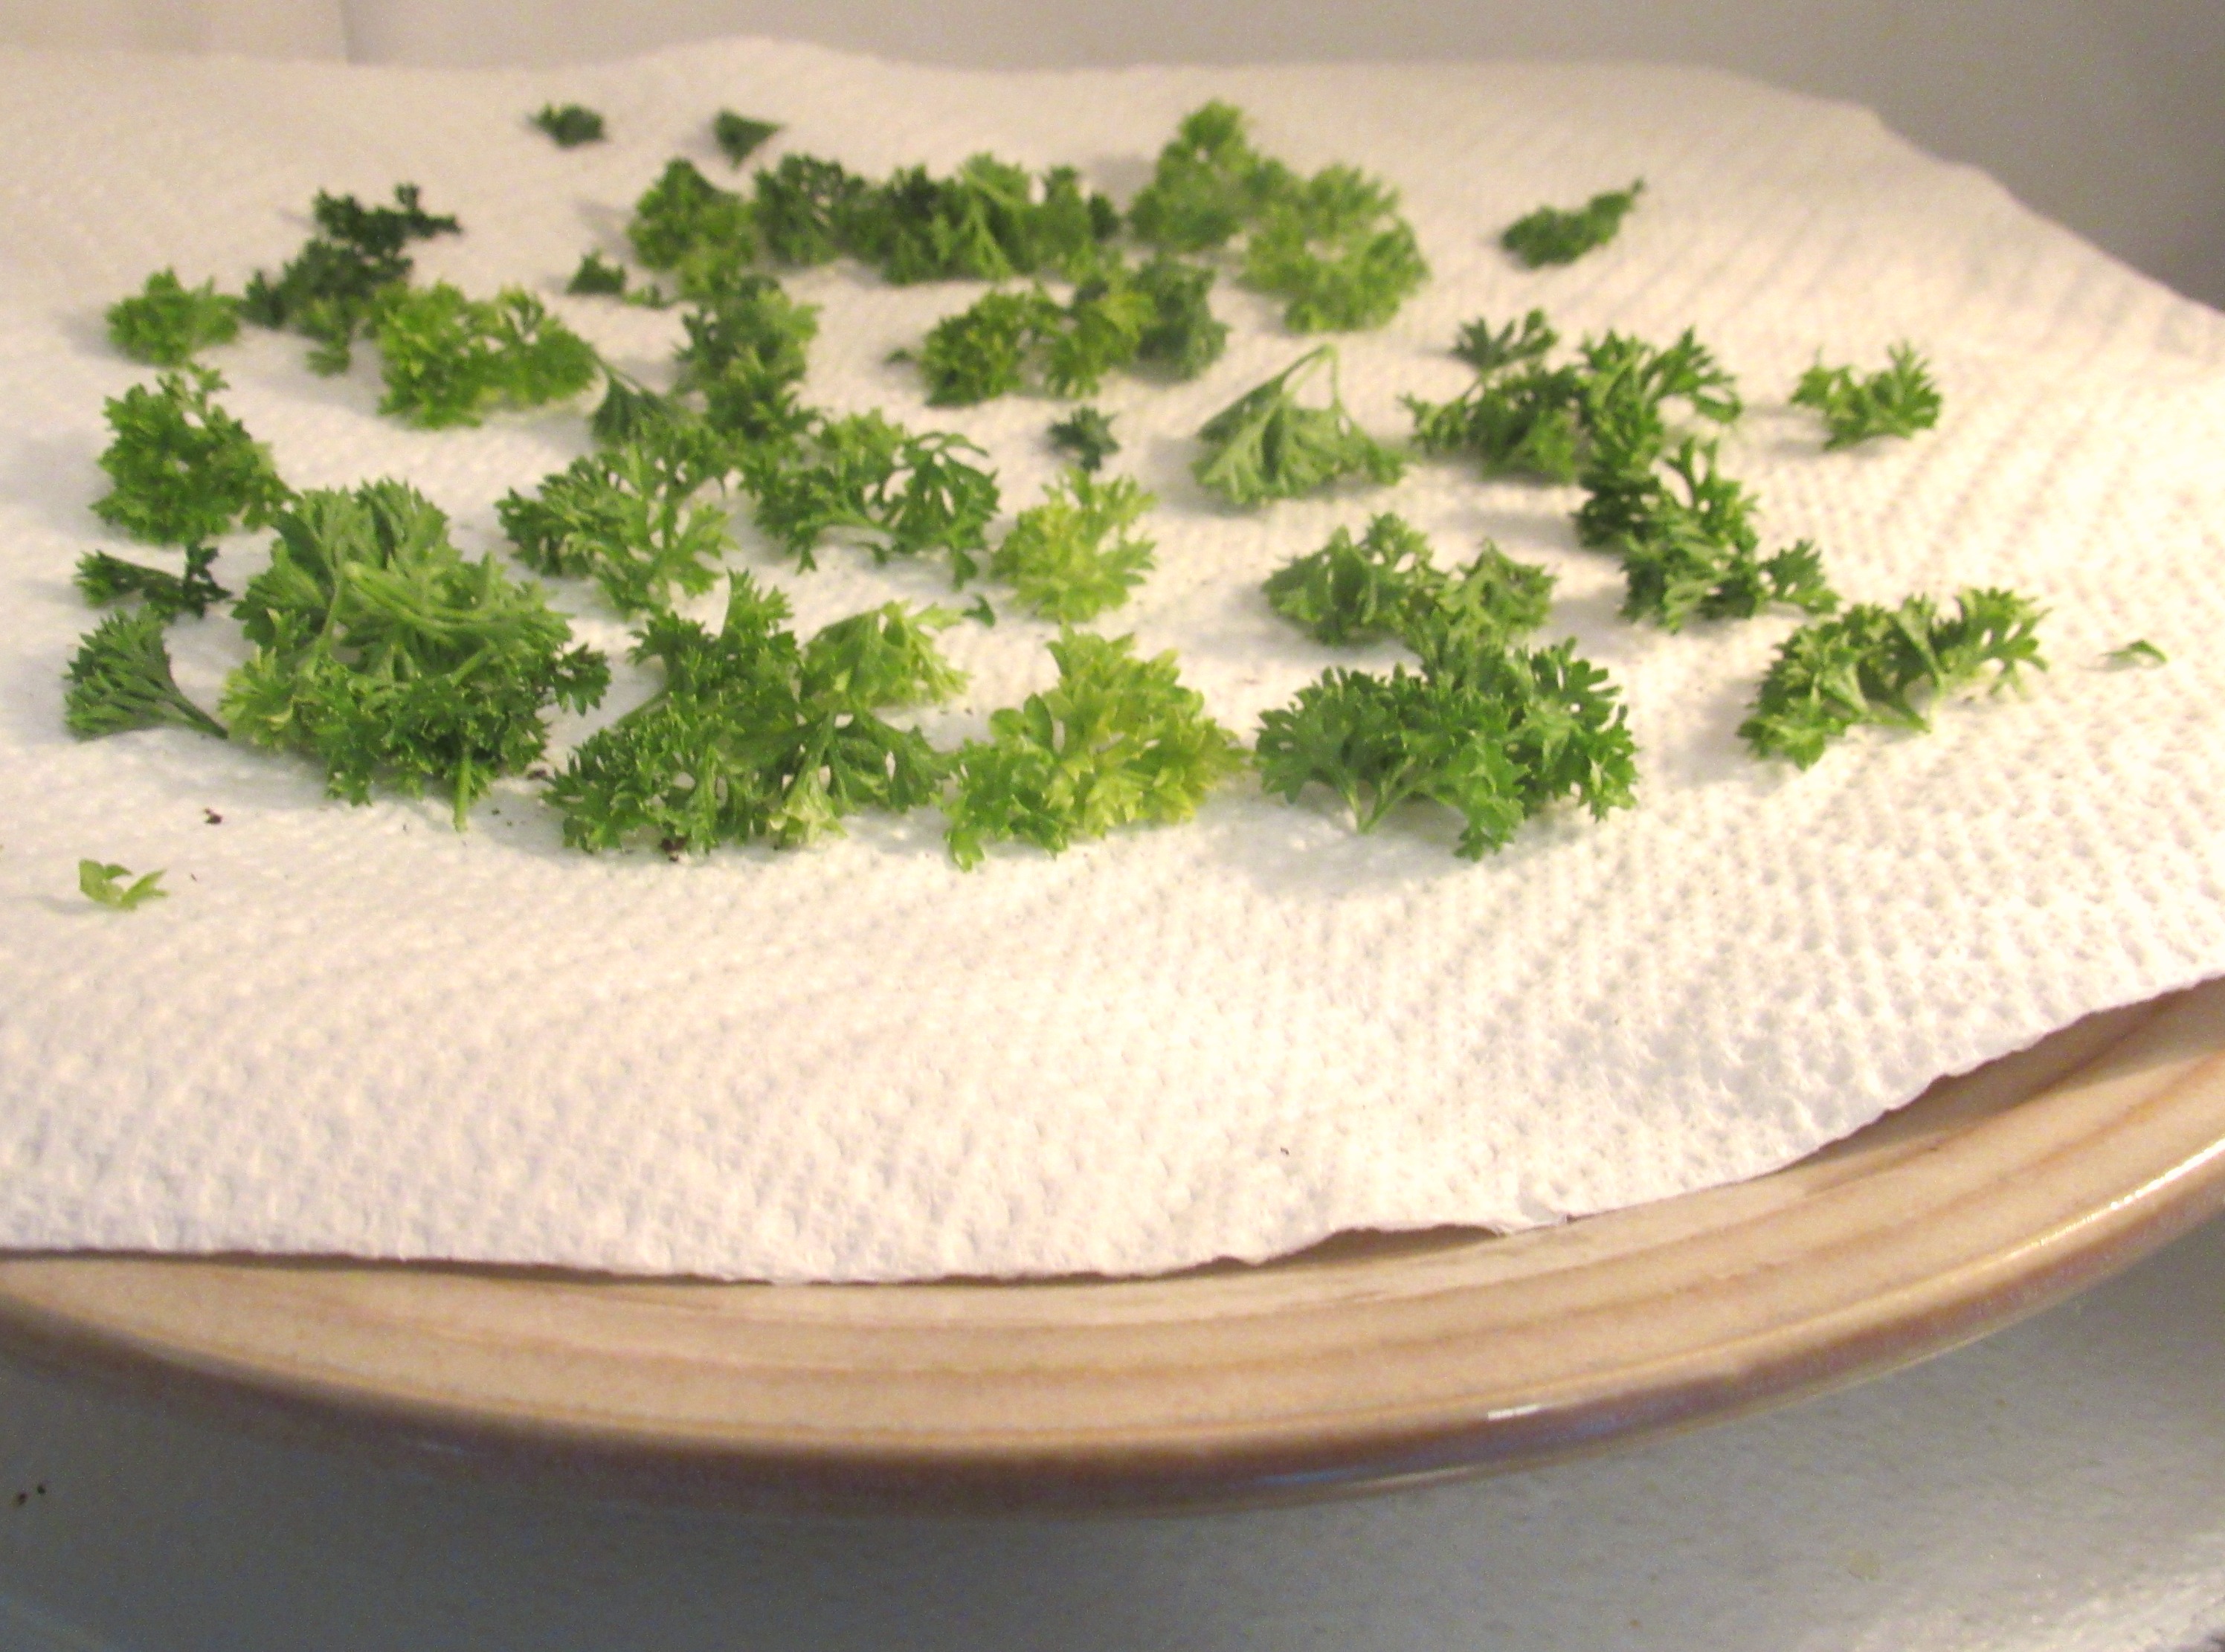
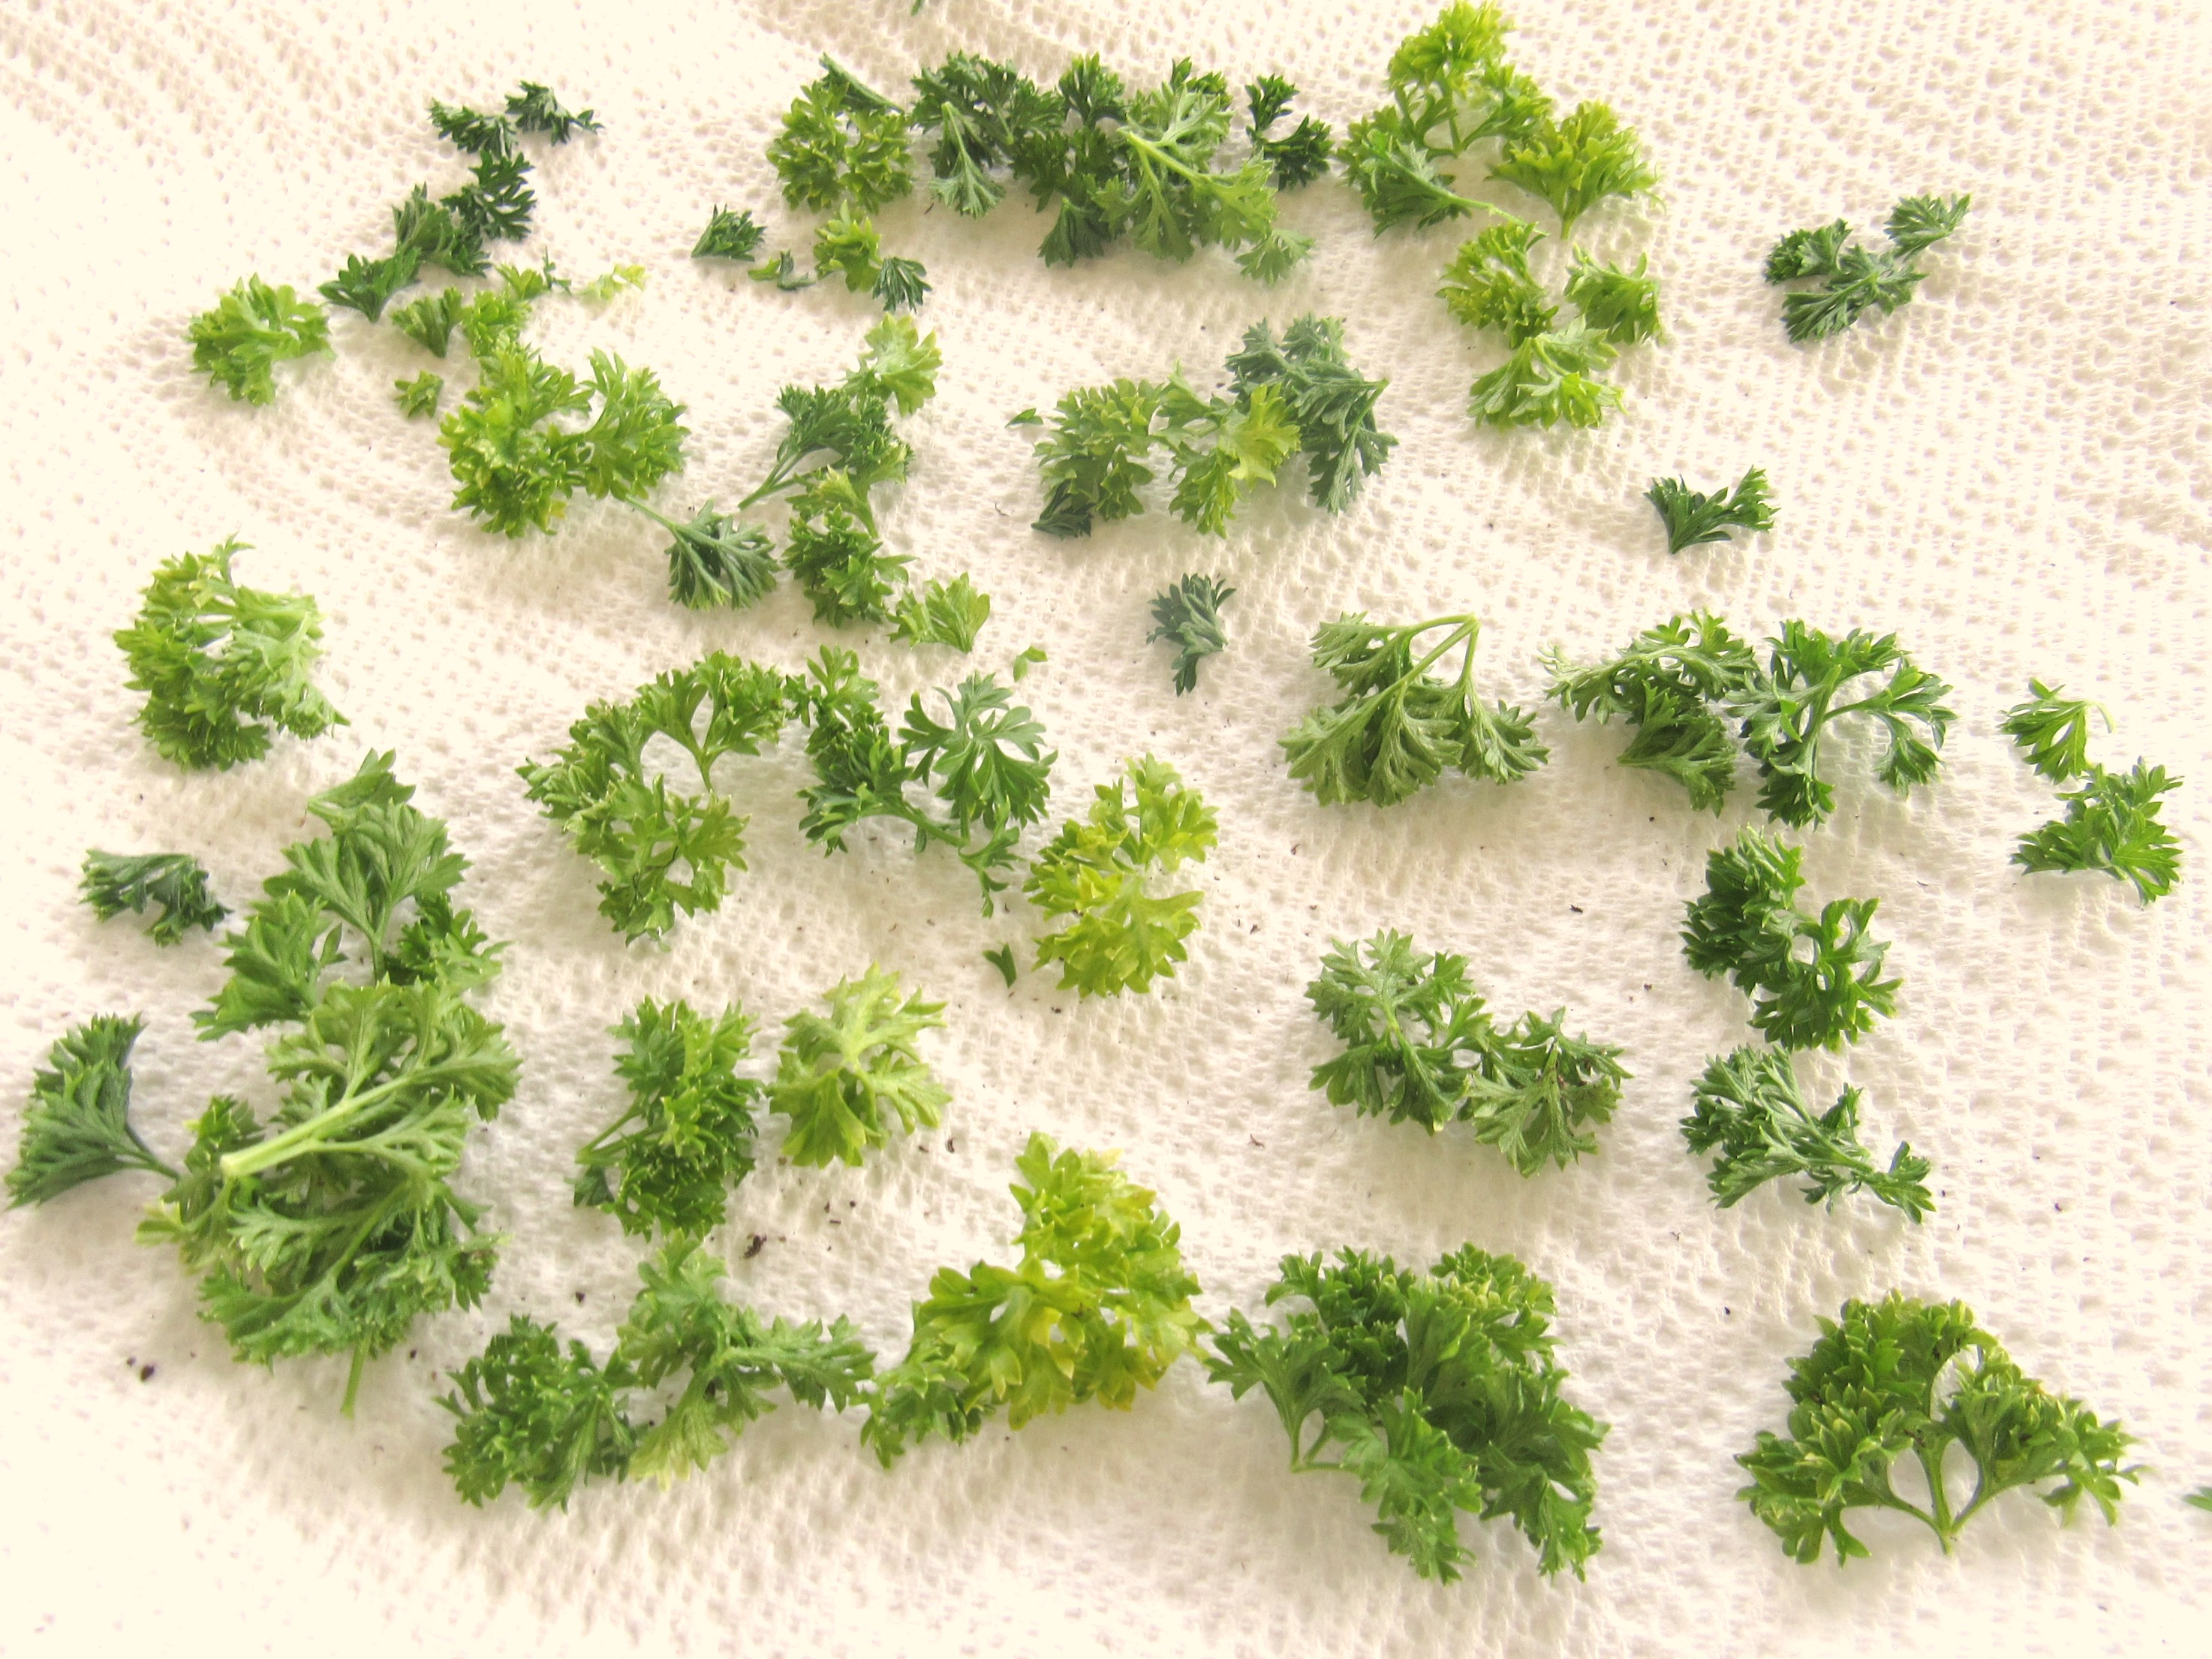
First you’ll need to remove your herbs off of their stems. Grab a paper towel, lay it on a microwave safe plate and scatter them out on top of it in a single layer.
Then layer another paper towel over top and set your plate in the microwave.
From here, you will begin microwaving your herbs in short 30-45 second bursts until they are brittle and able to crumble easily between your fingers.
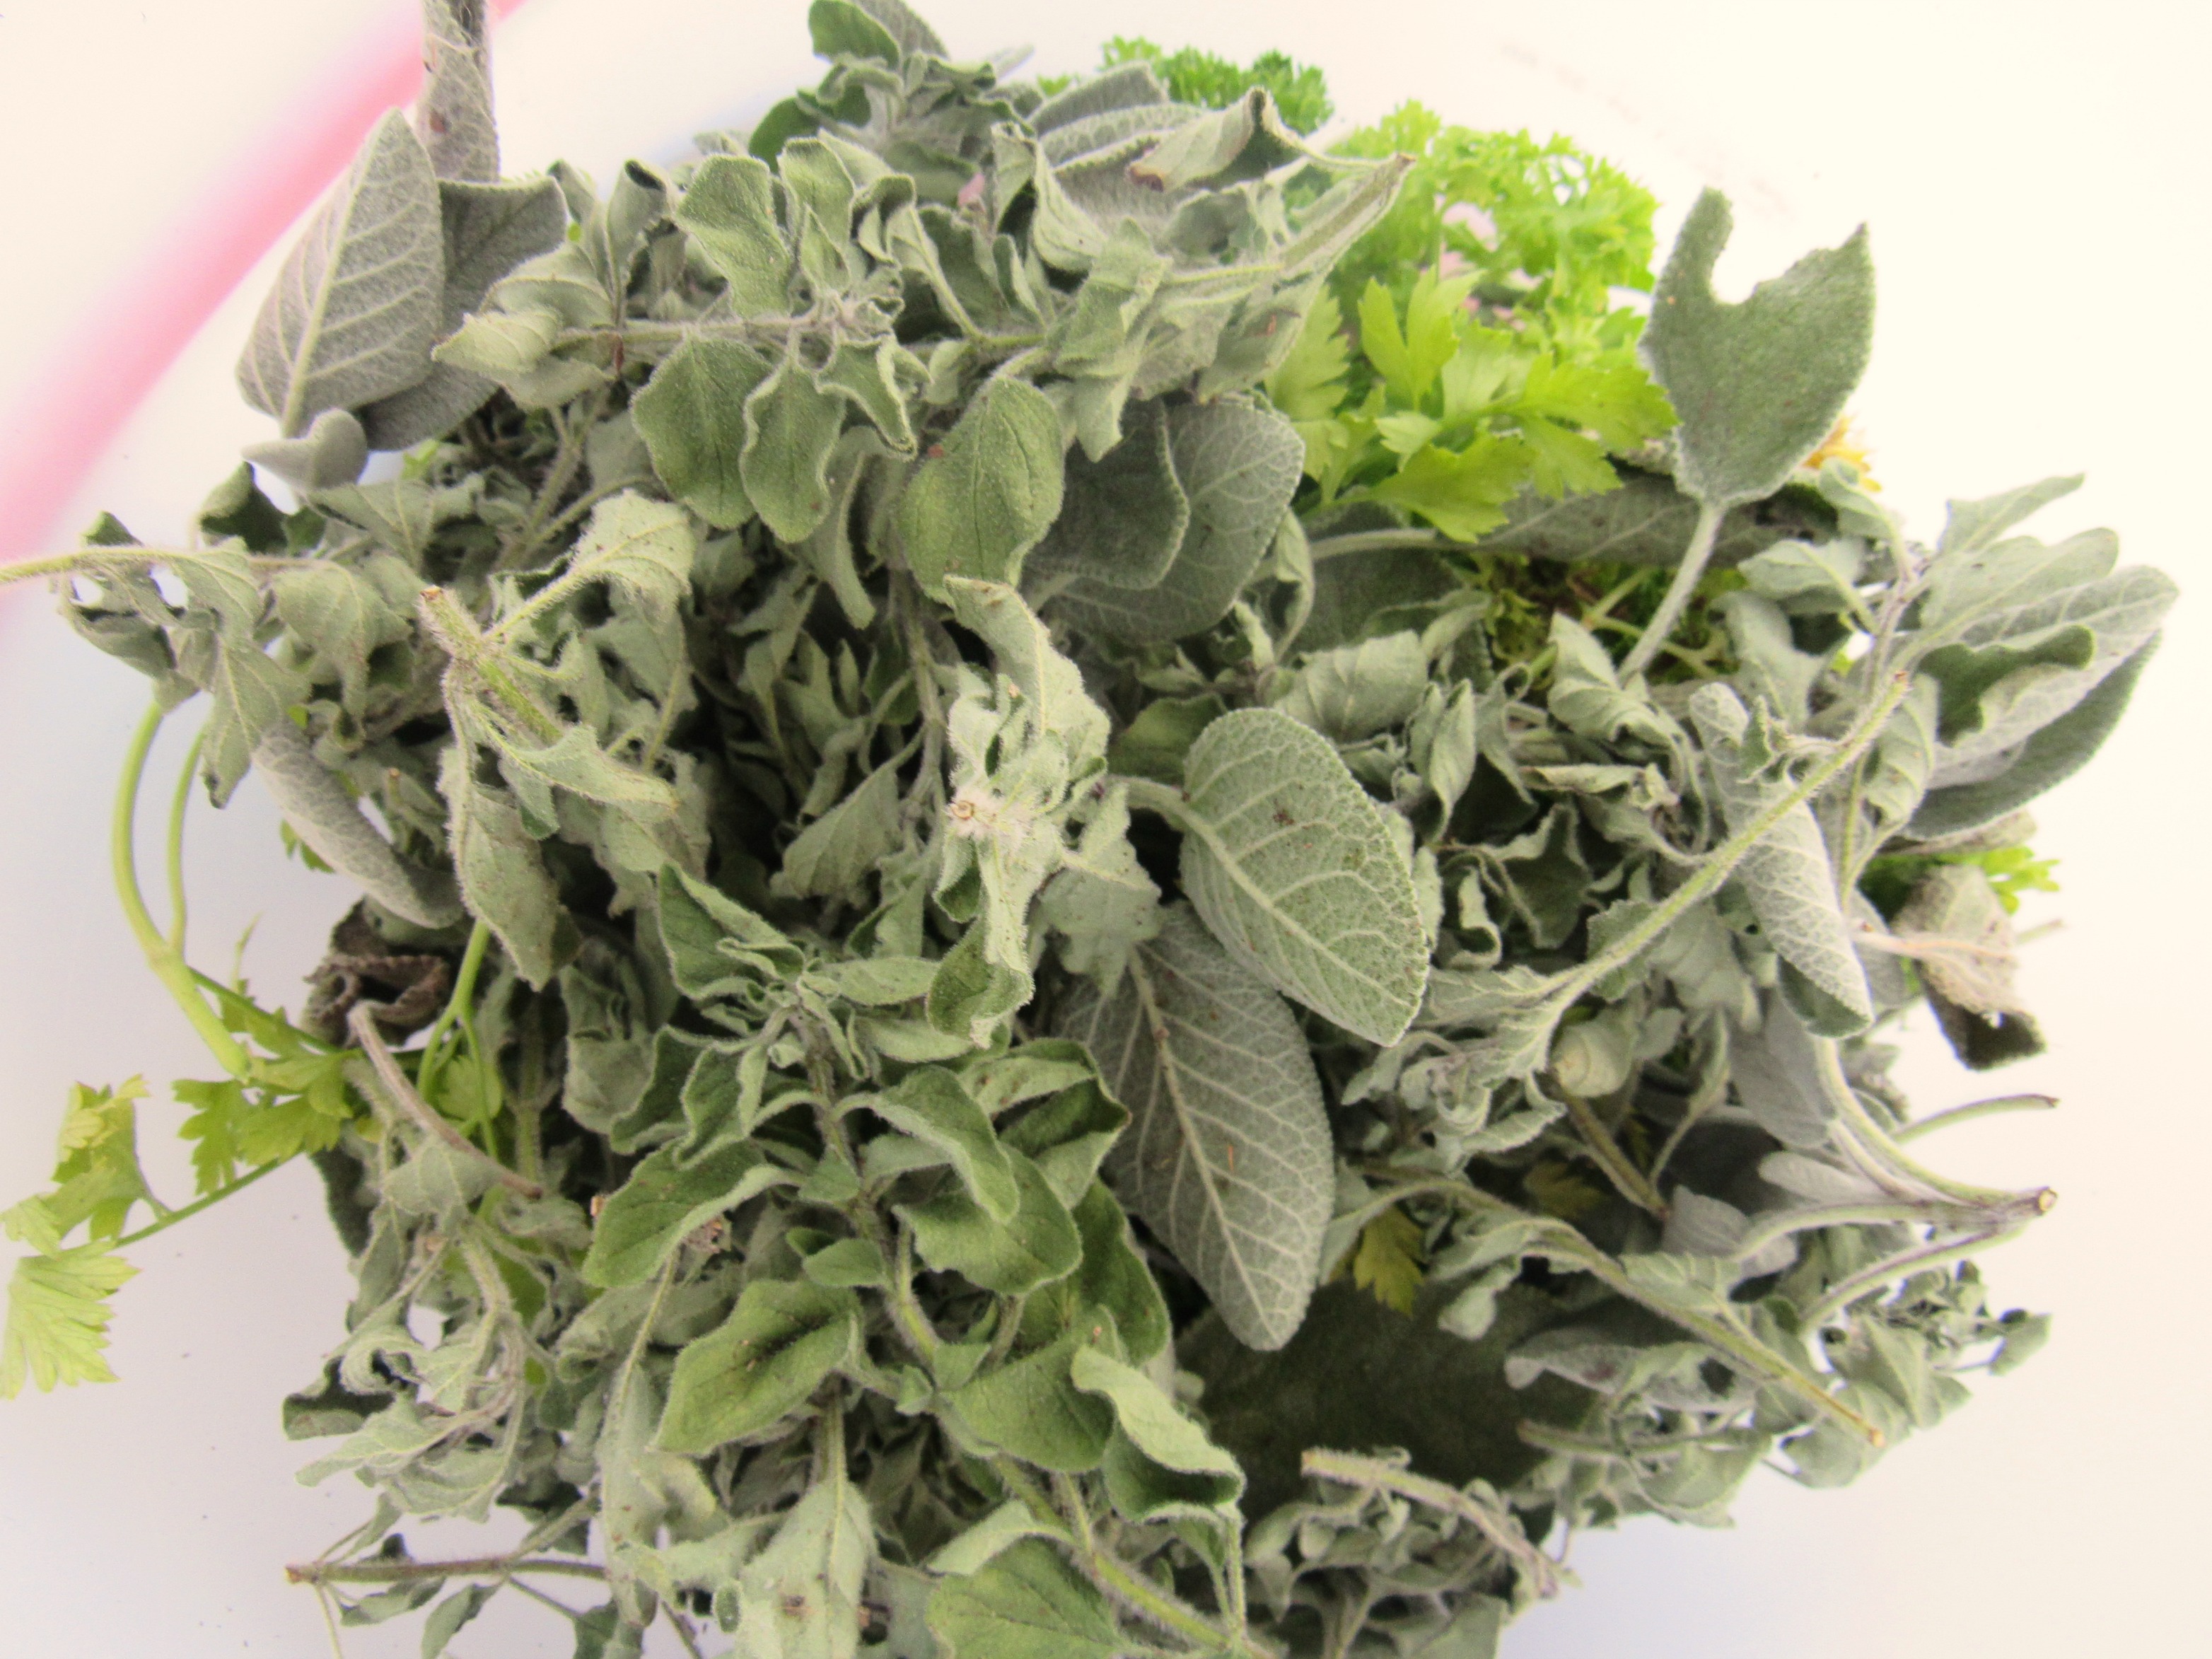
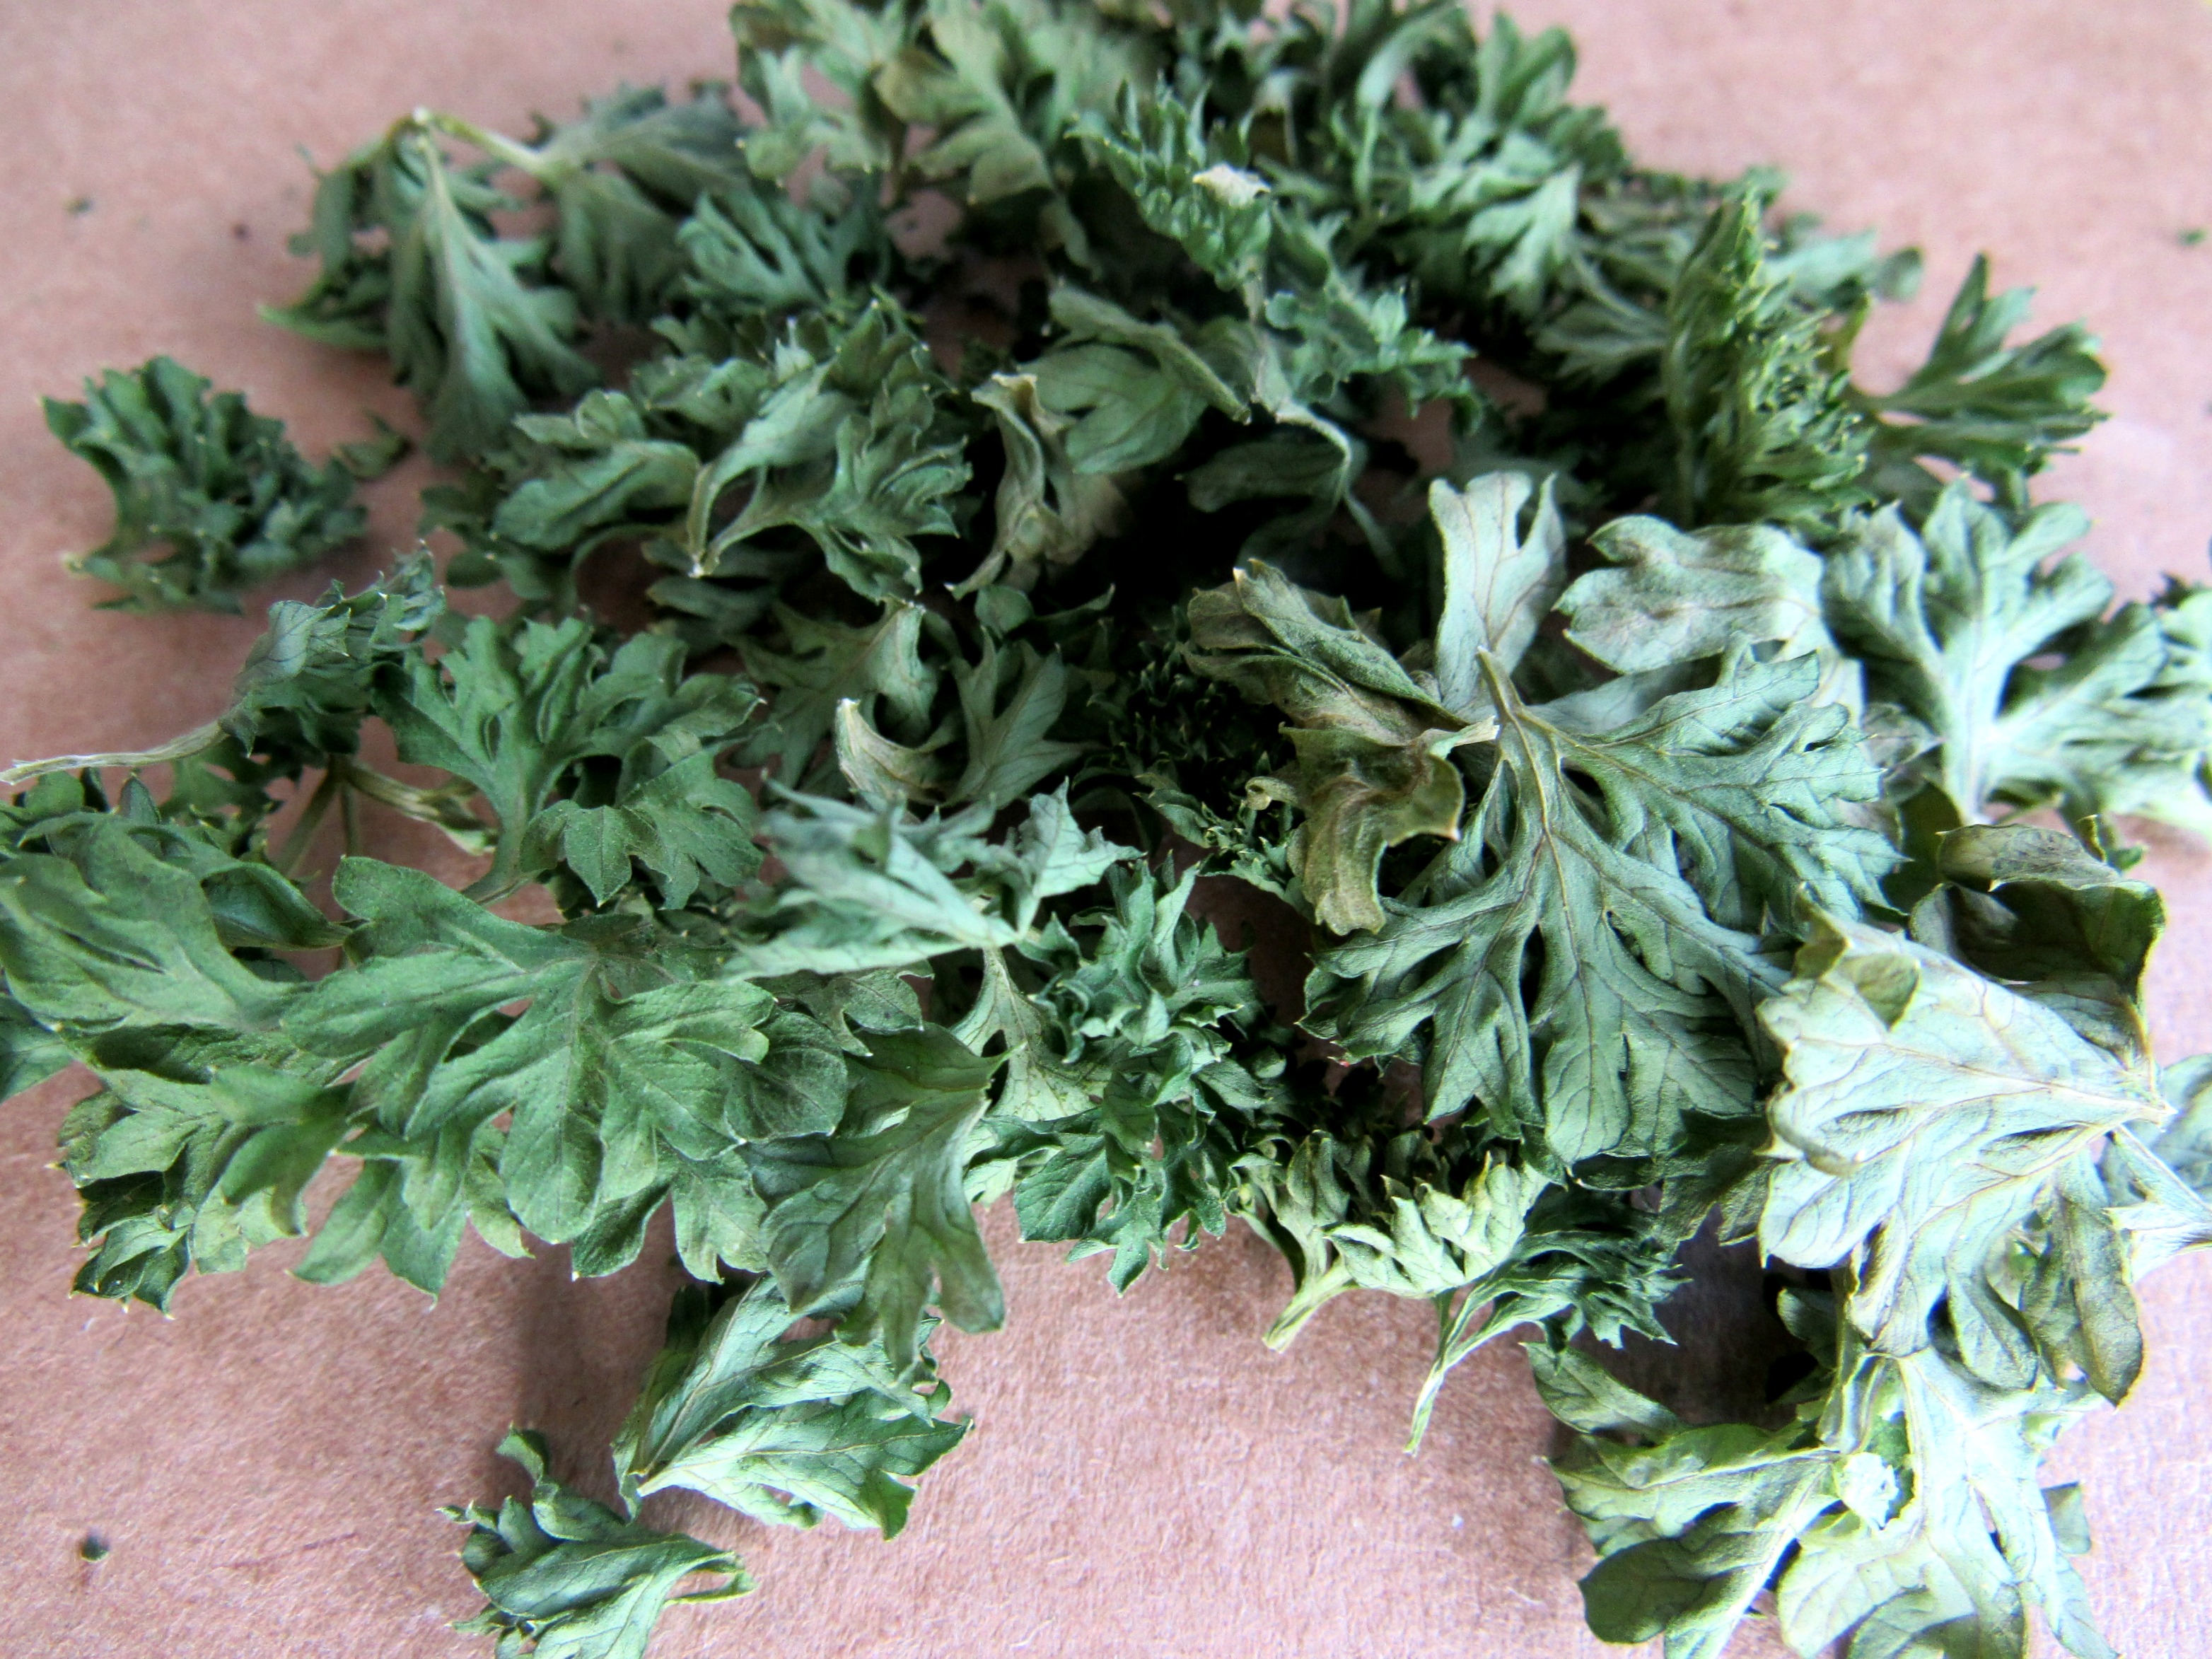
Keep in mind that this tutorial was completed using a curled leaf parsley, which can hold less moisture than larger herbs like basil or sage. Given that trait, larger herbs will need more microwave time.
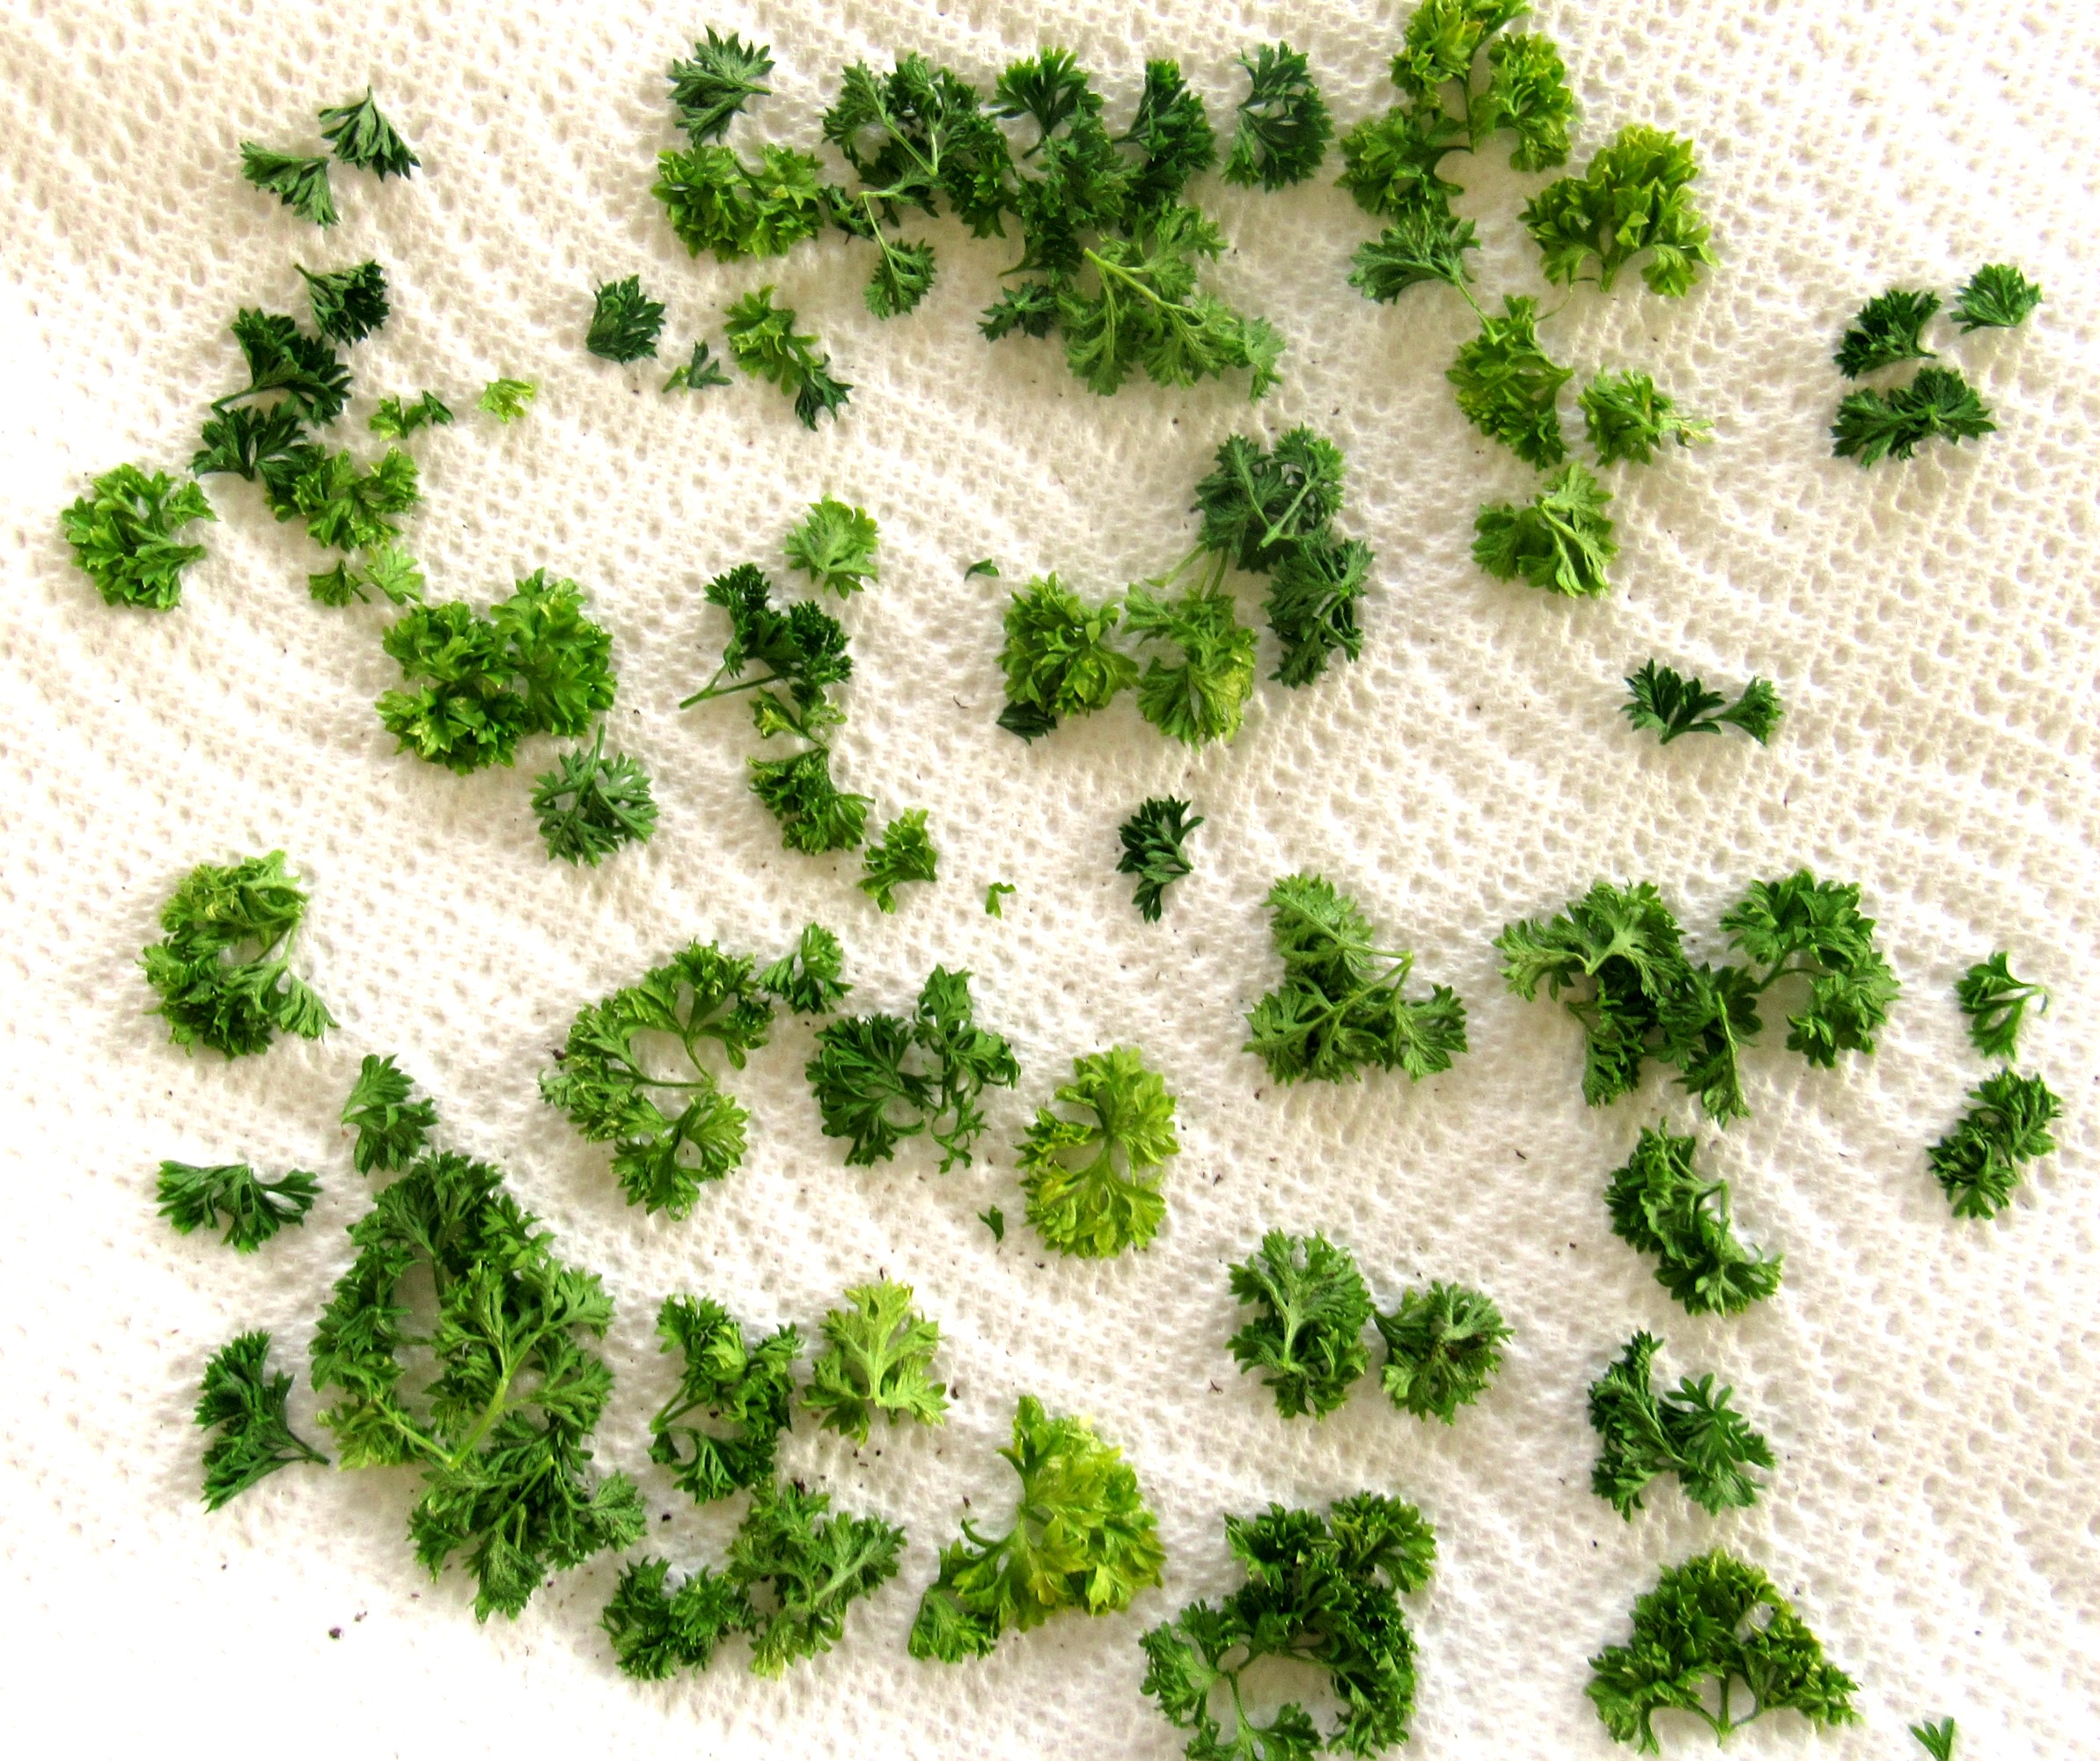
See the progression here as the parsley is microwaved from fresh to dried. Start with 30 second bursts. Each round open the microwave door up for a few seconds to let the heat escape. Over-heated herbs will cook down and burn instead of drying out correctly.
Round 1
Round 2
Round 3
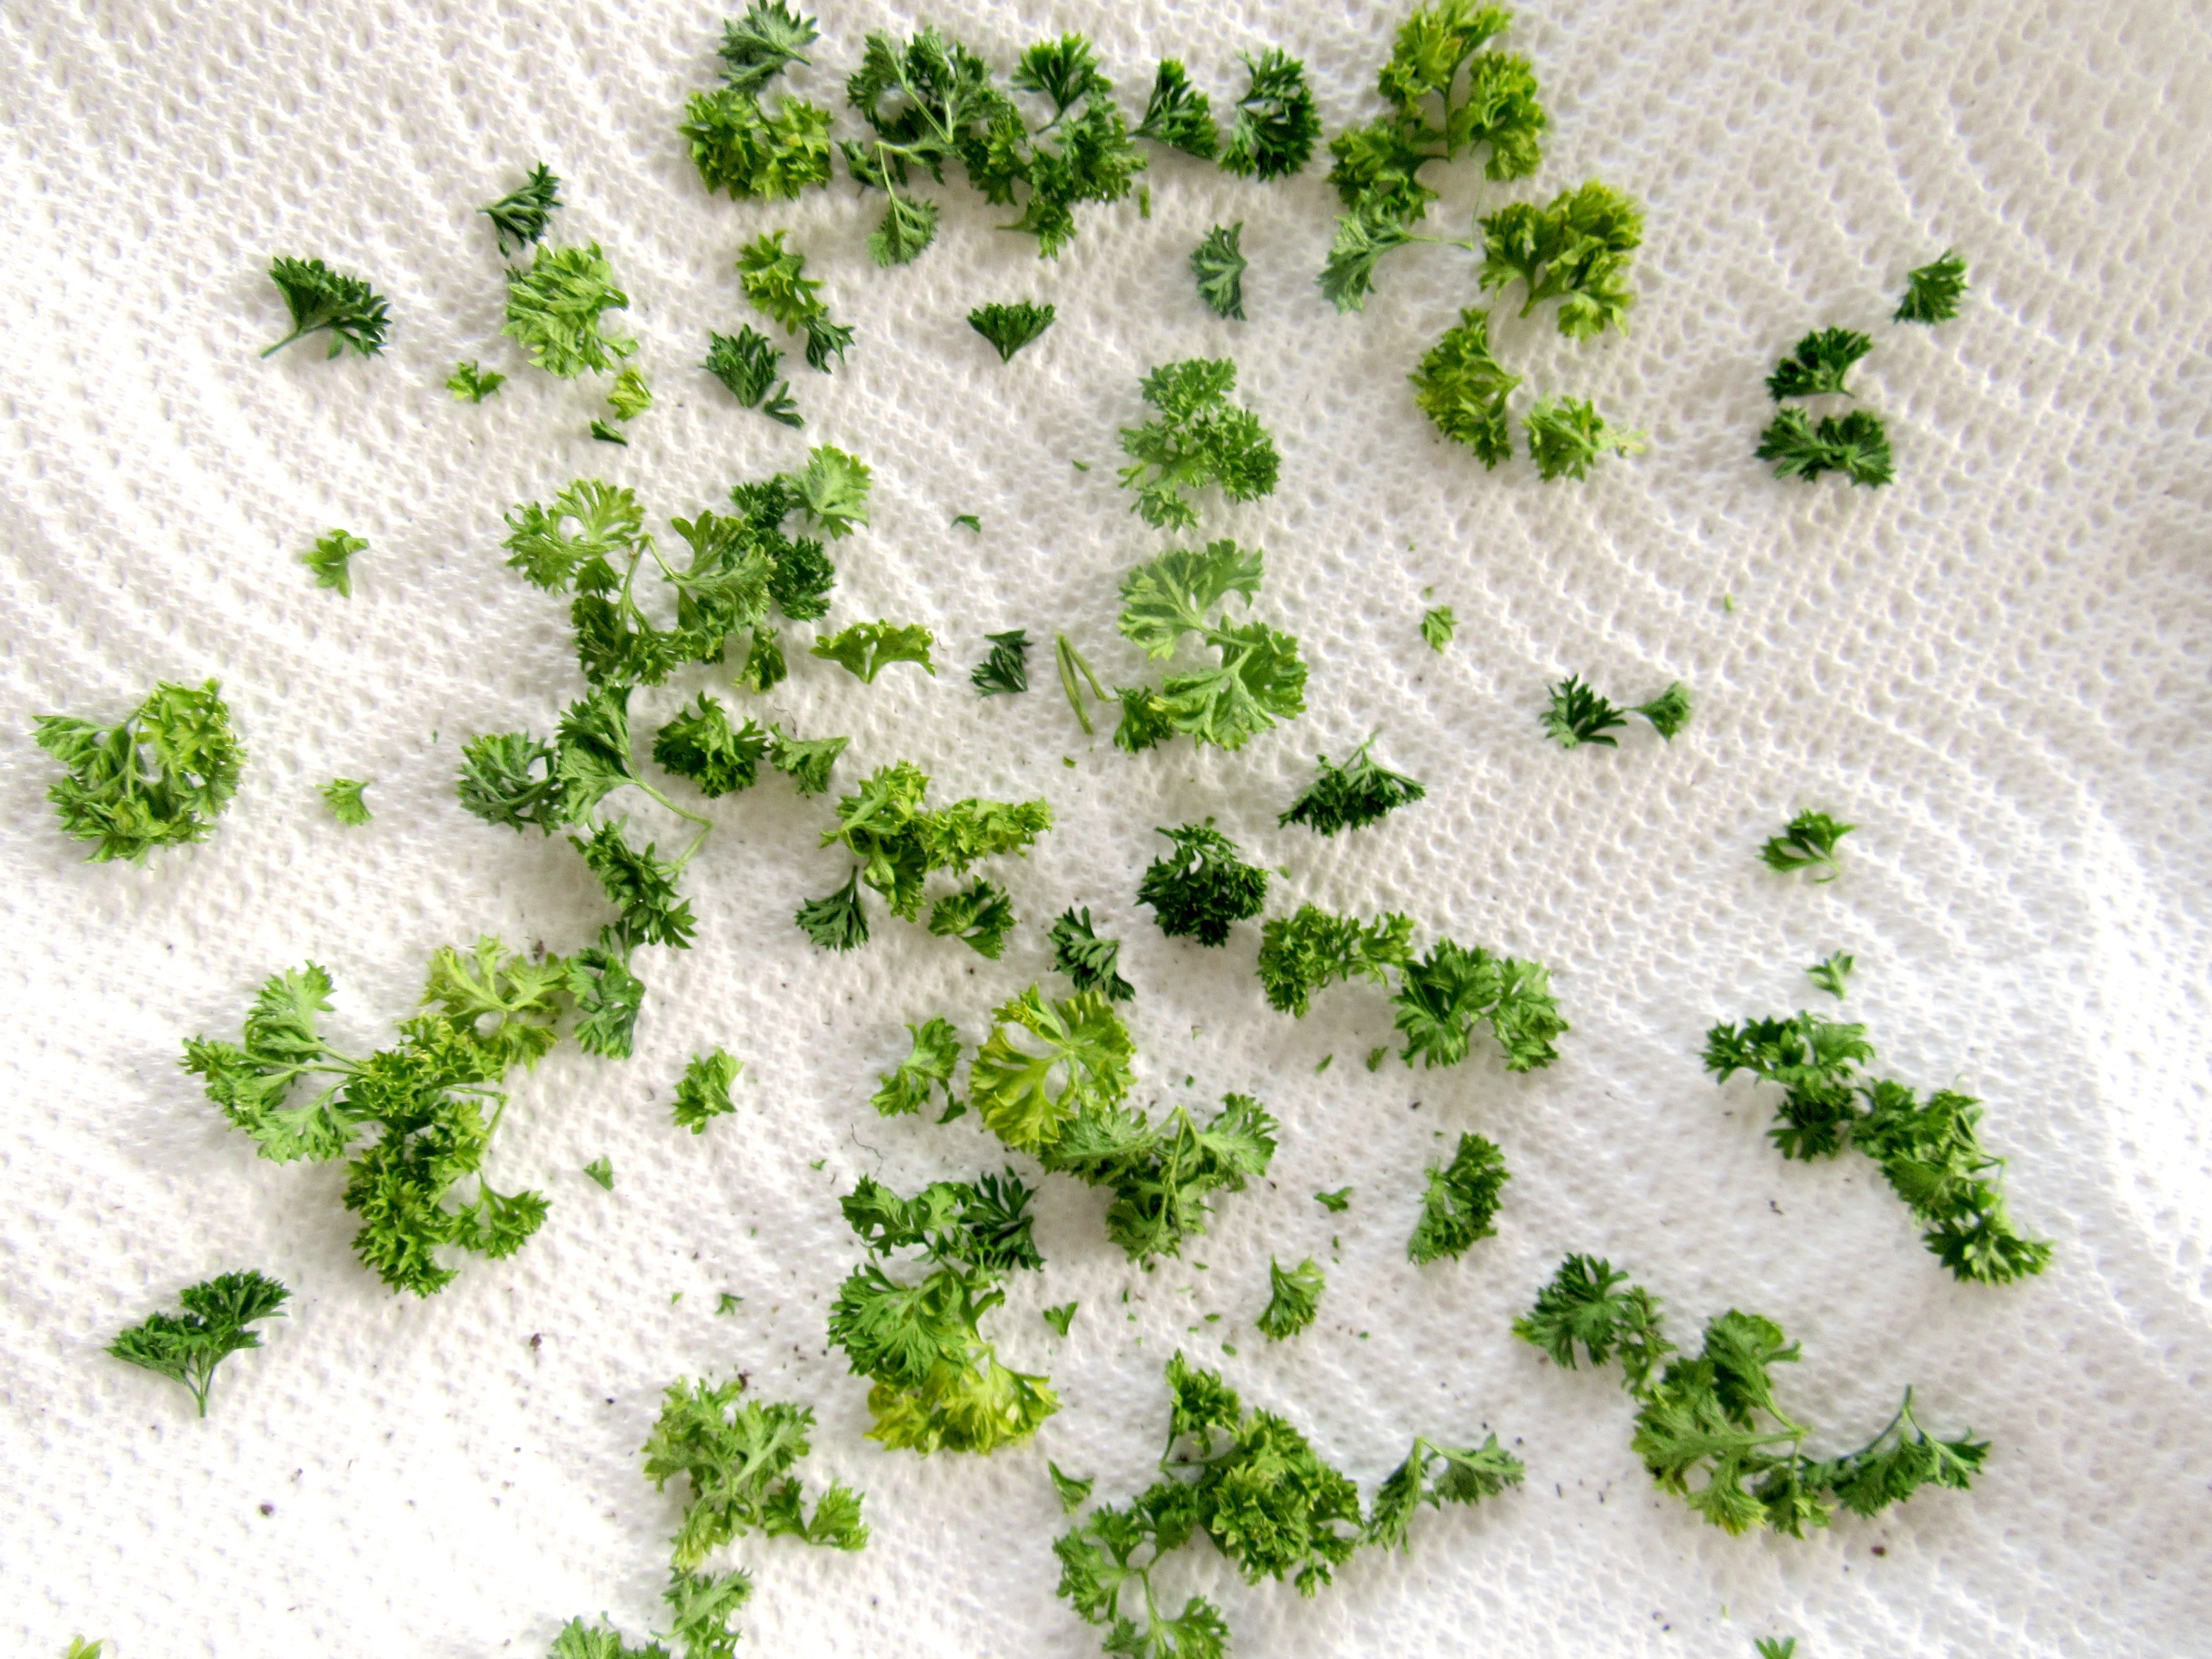
Then the test: when it’s completely brittle and can crumble easily between your fingers.
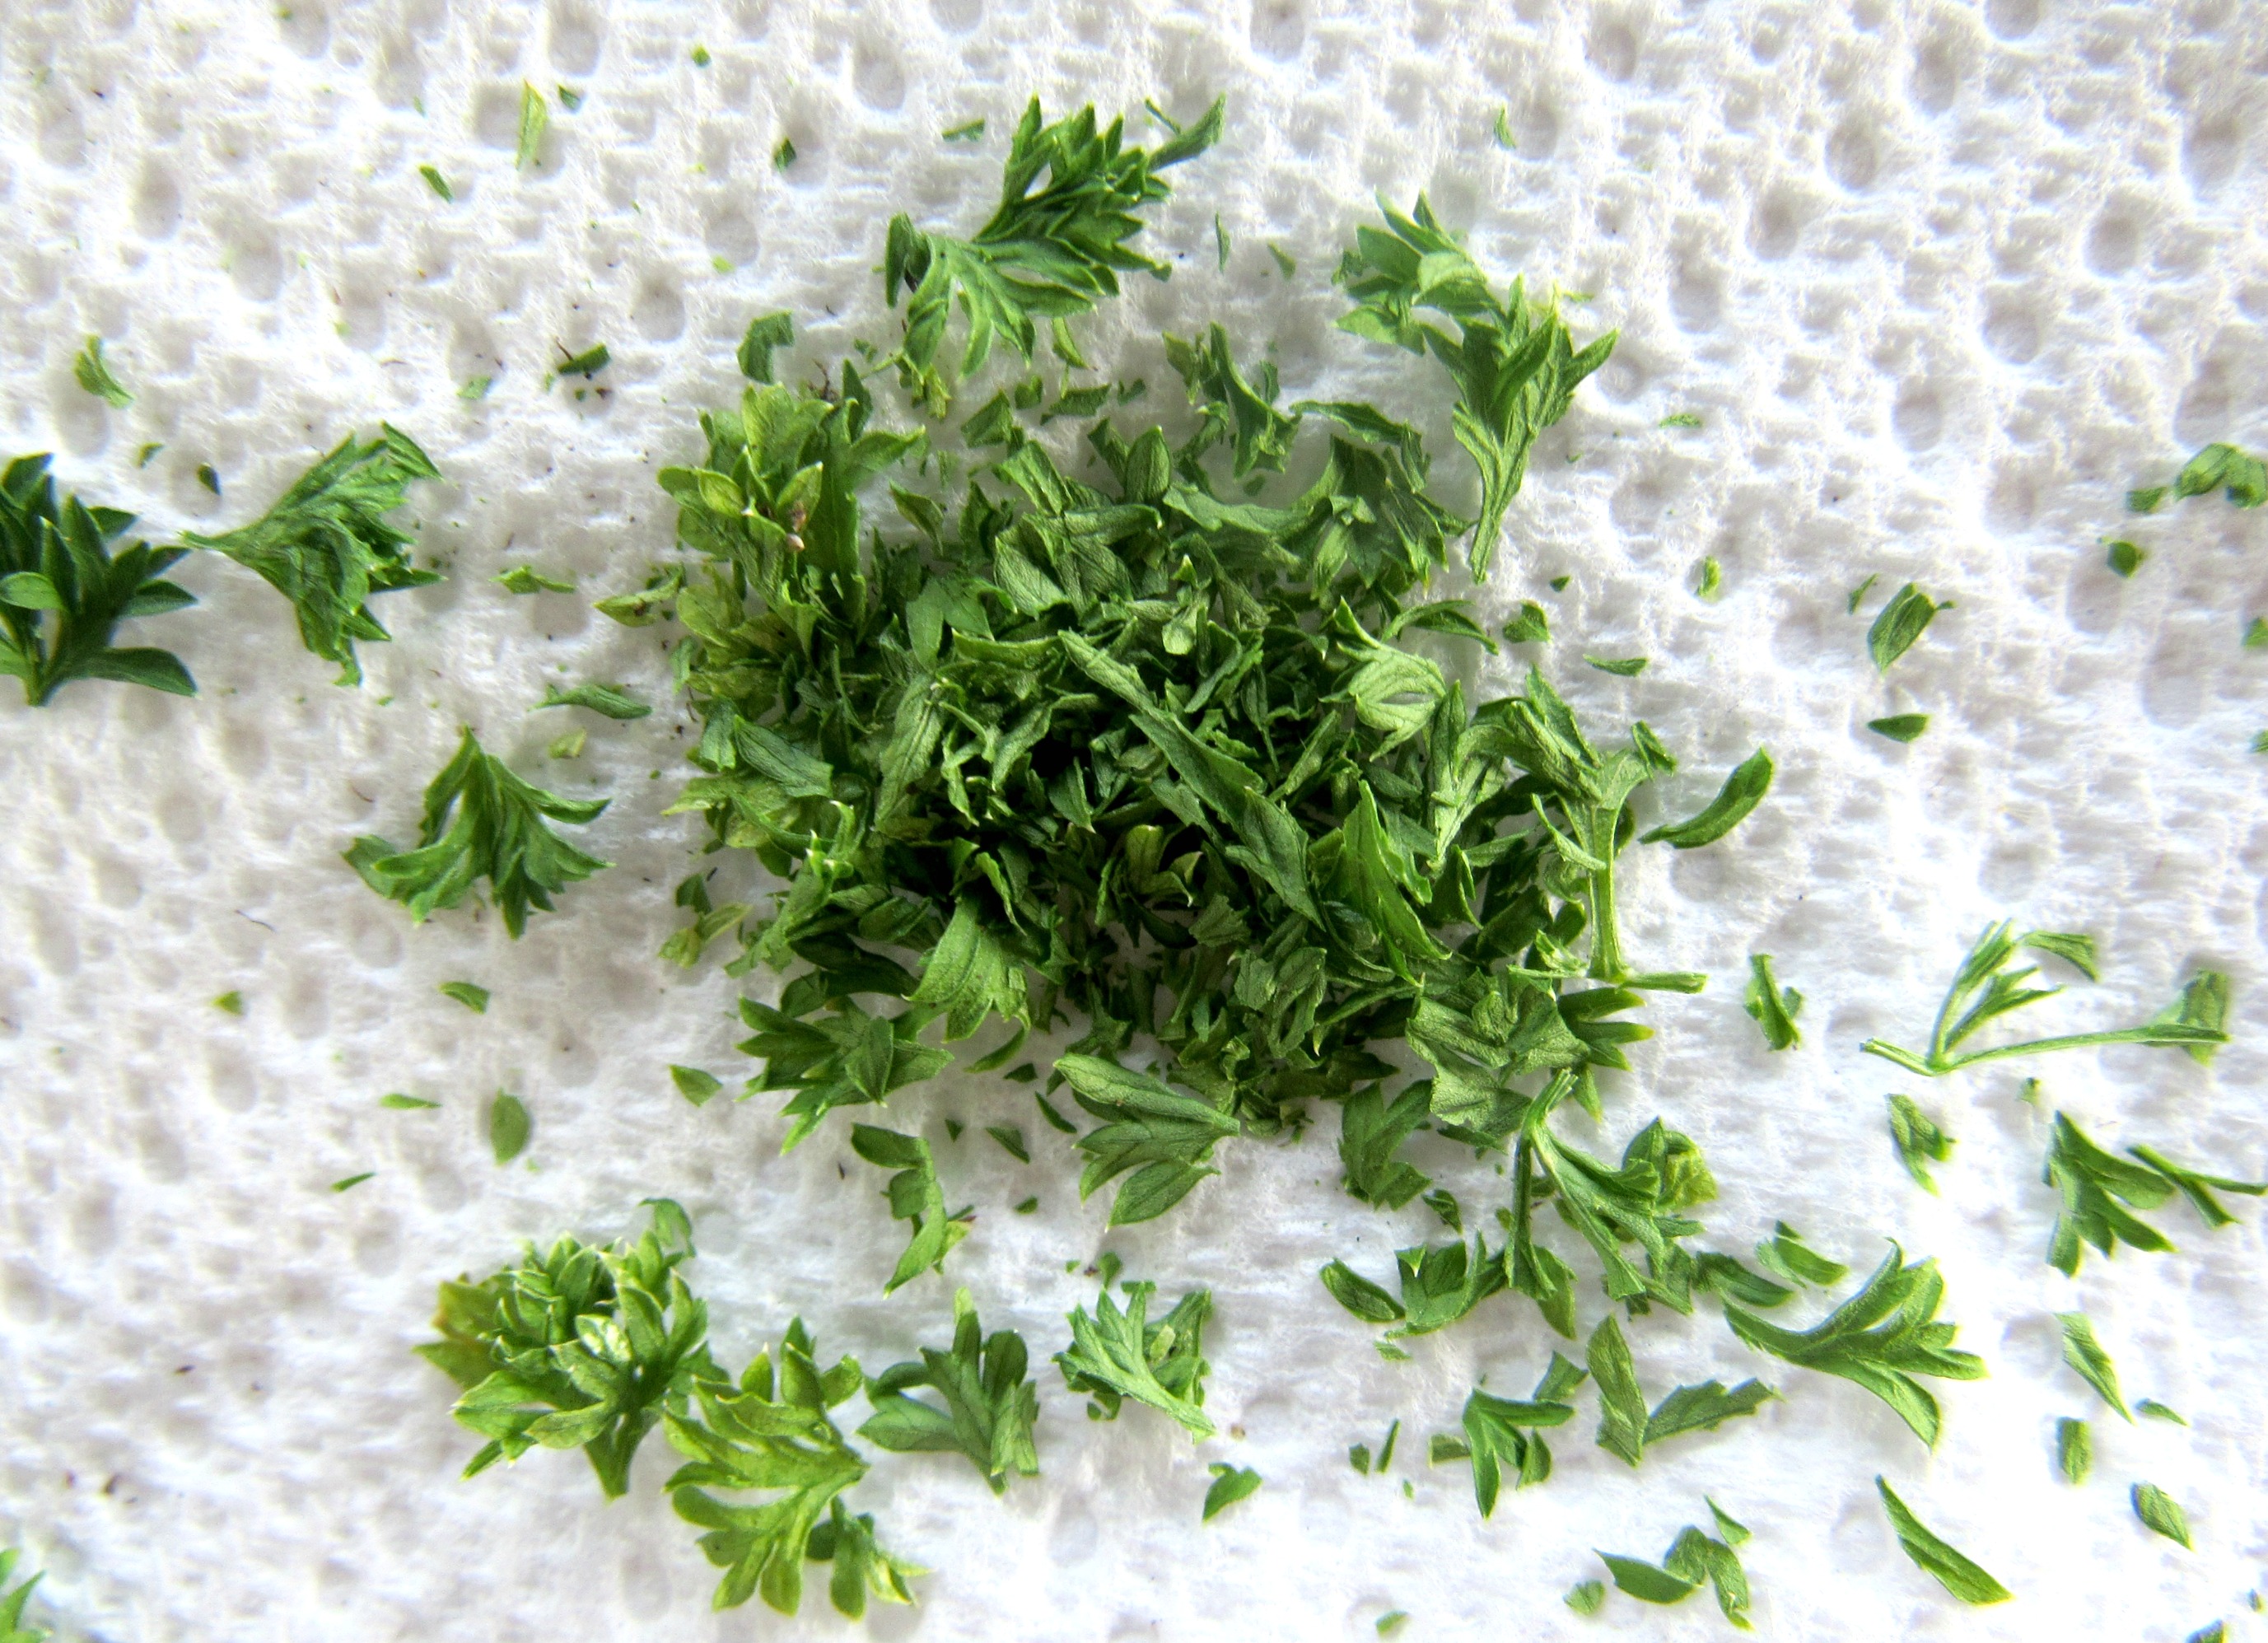
Tip: After testing a few pieces, I leave the rest of my leaves whole so then depending on my recipe I can adjust them to whatever size I need.
Storing your Dried Herbs:
Herbs can be stored in any air-tight container or bag. As long as moisture can stay out, they will be safe. Remember that if you use a clear or glass container, keep it in a dark place as light exposure will discolor your herbs. My favorite way to store my herbs are in my Ball canning jars. I use the 4oz and pint jars for larger quantities.
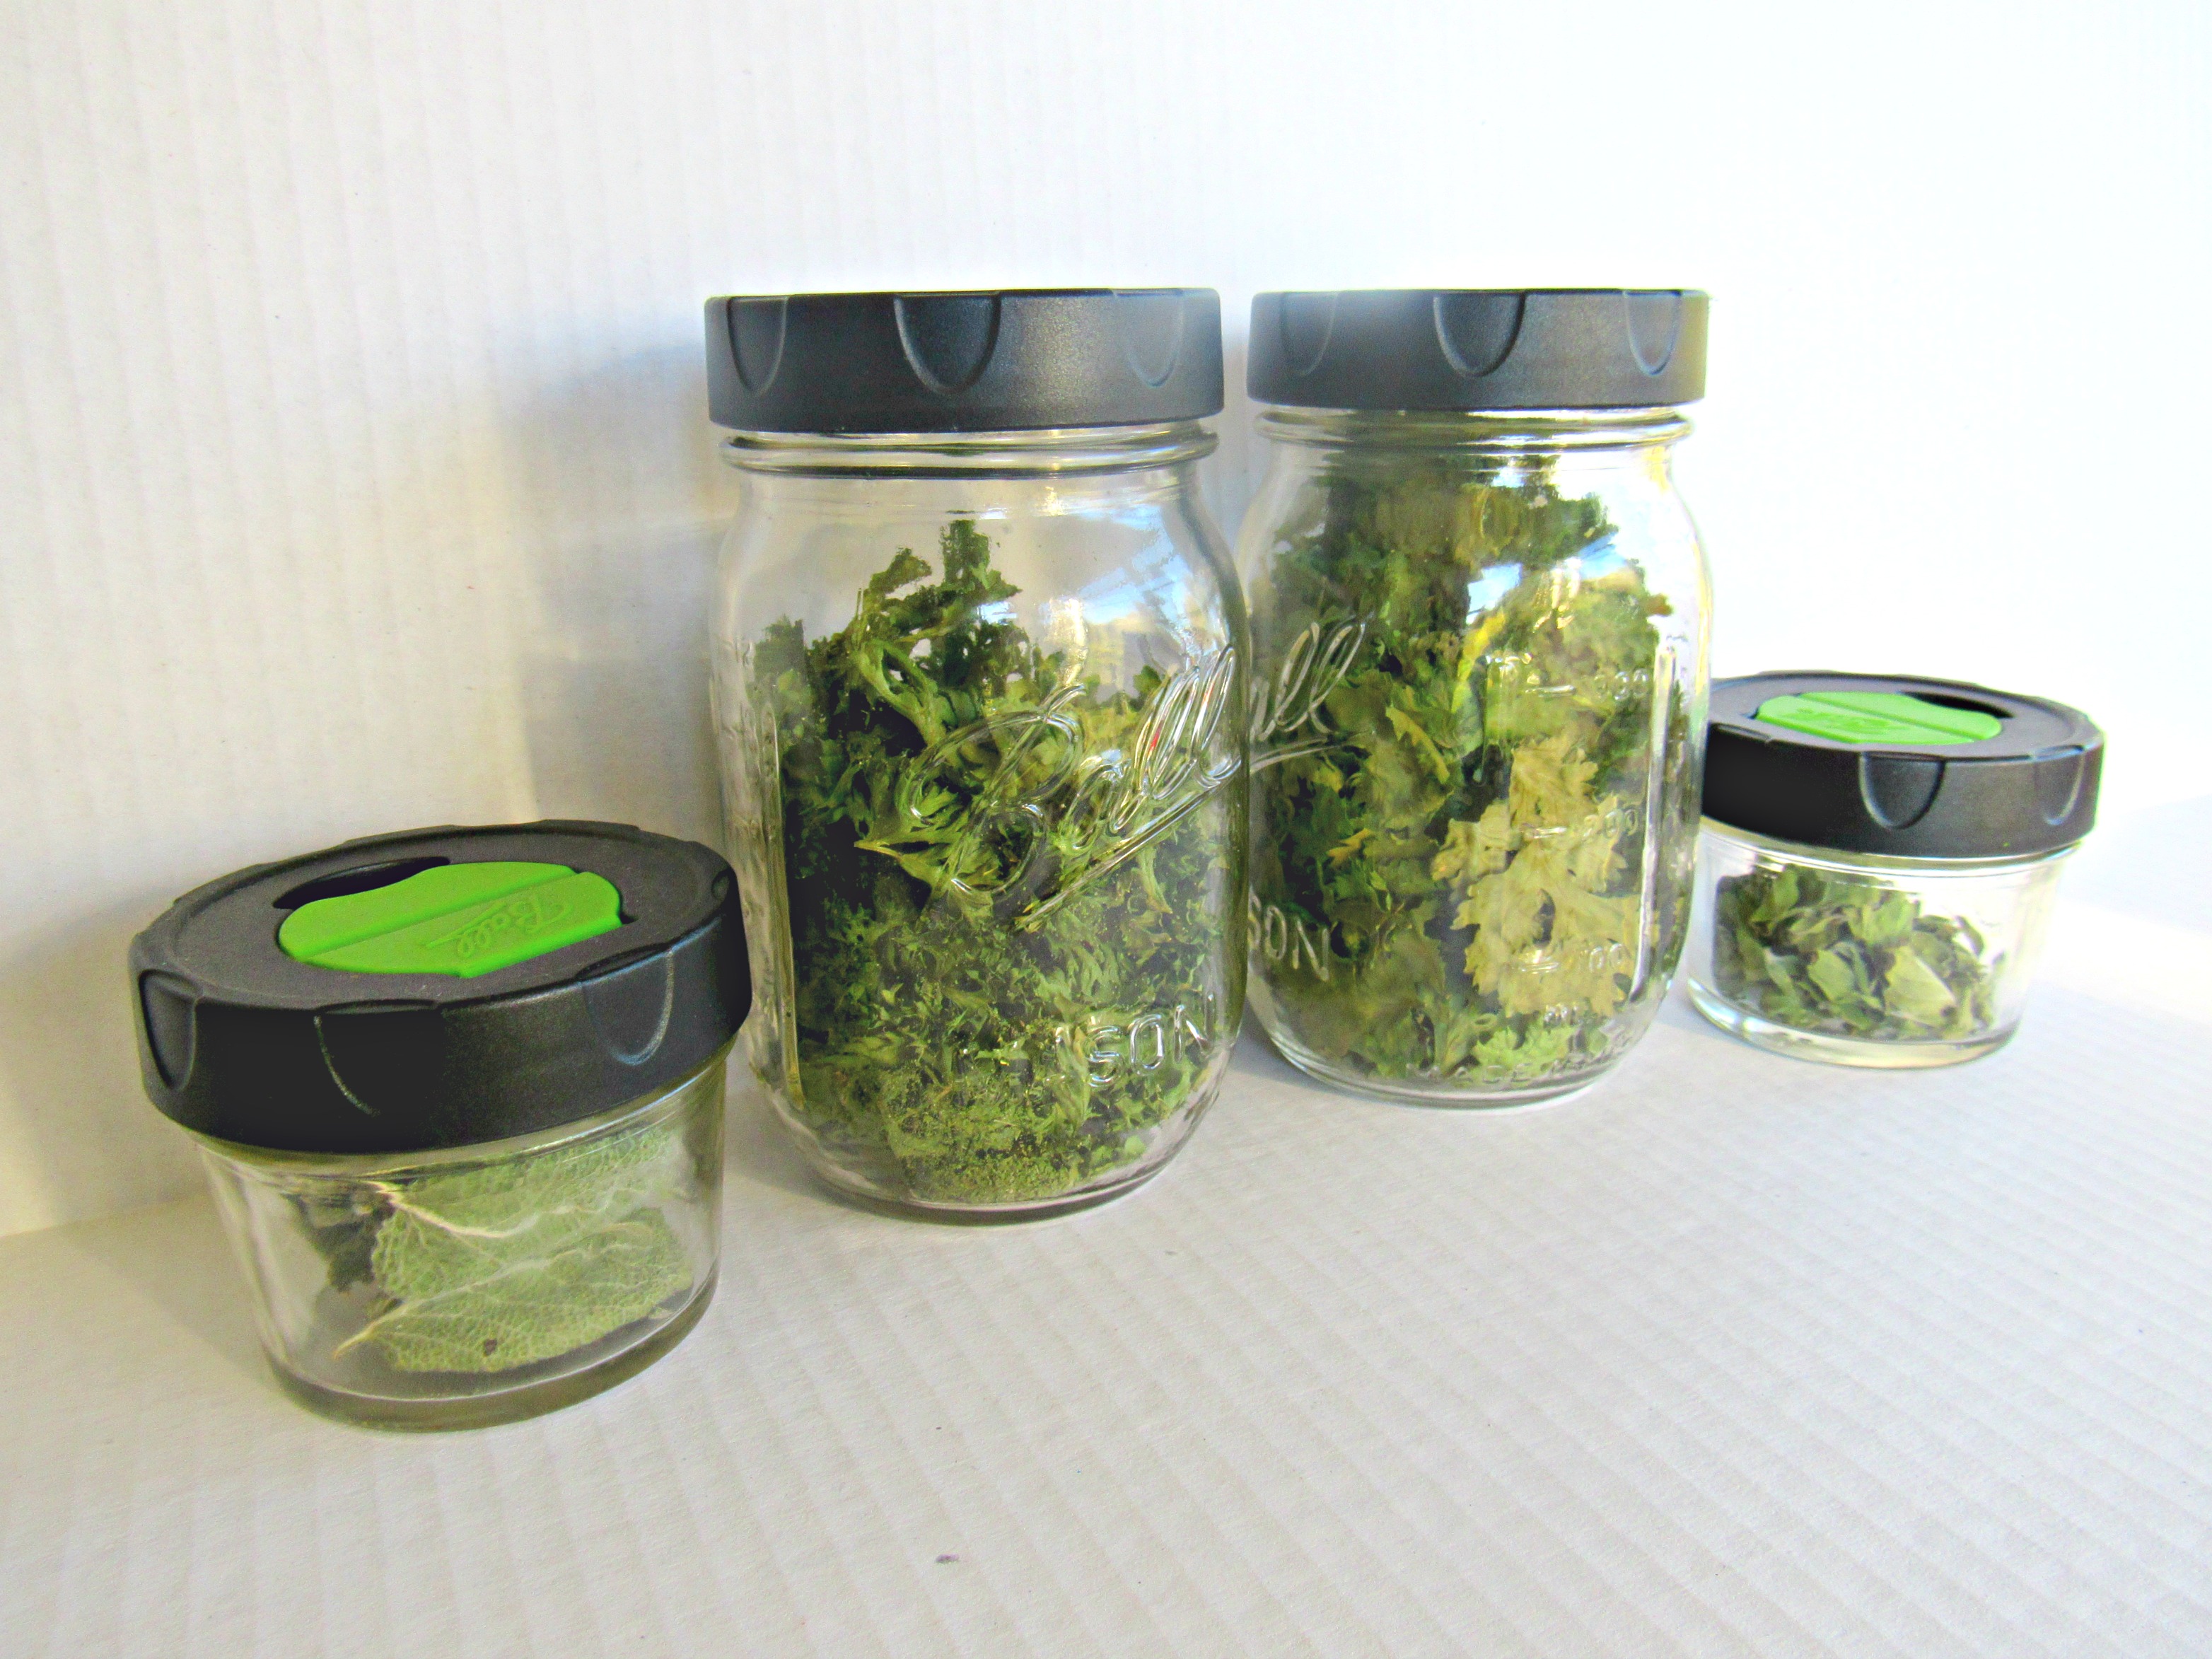
Instead of using regular canning lids, I found these awesome dry herb and spice shaker cap lids from Ball. In the past, I have used old Parmesan cheese container lids which fit perfectly onto standard mouth jars but I found that they do not keep the moisture out as well.
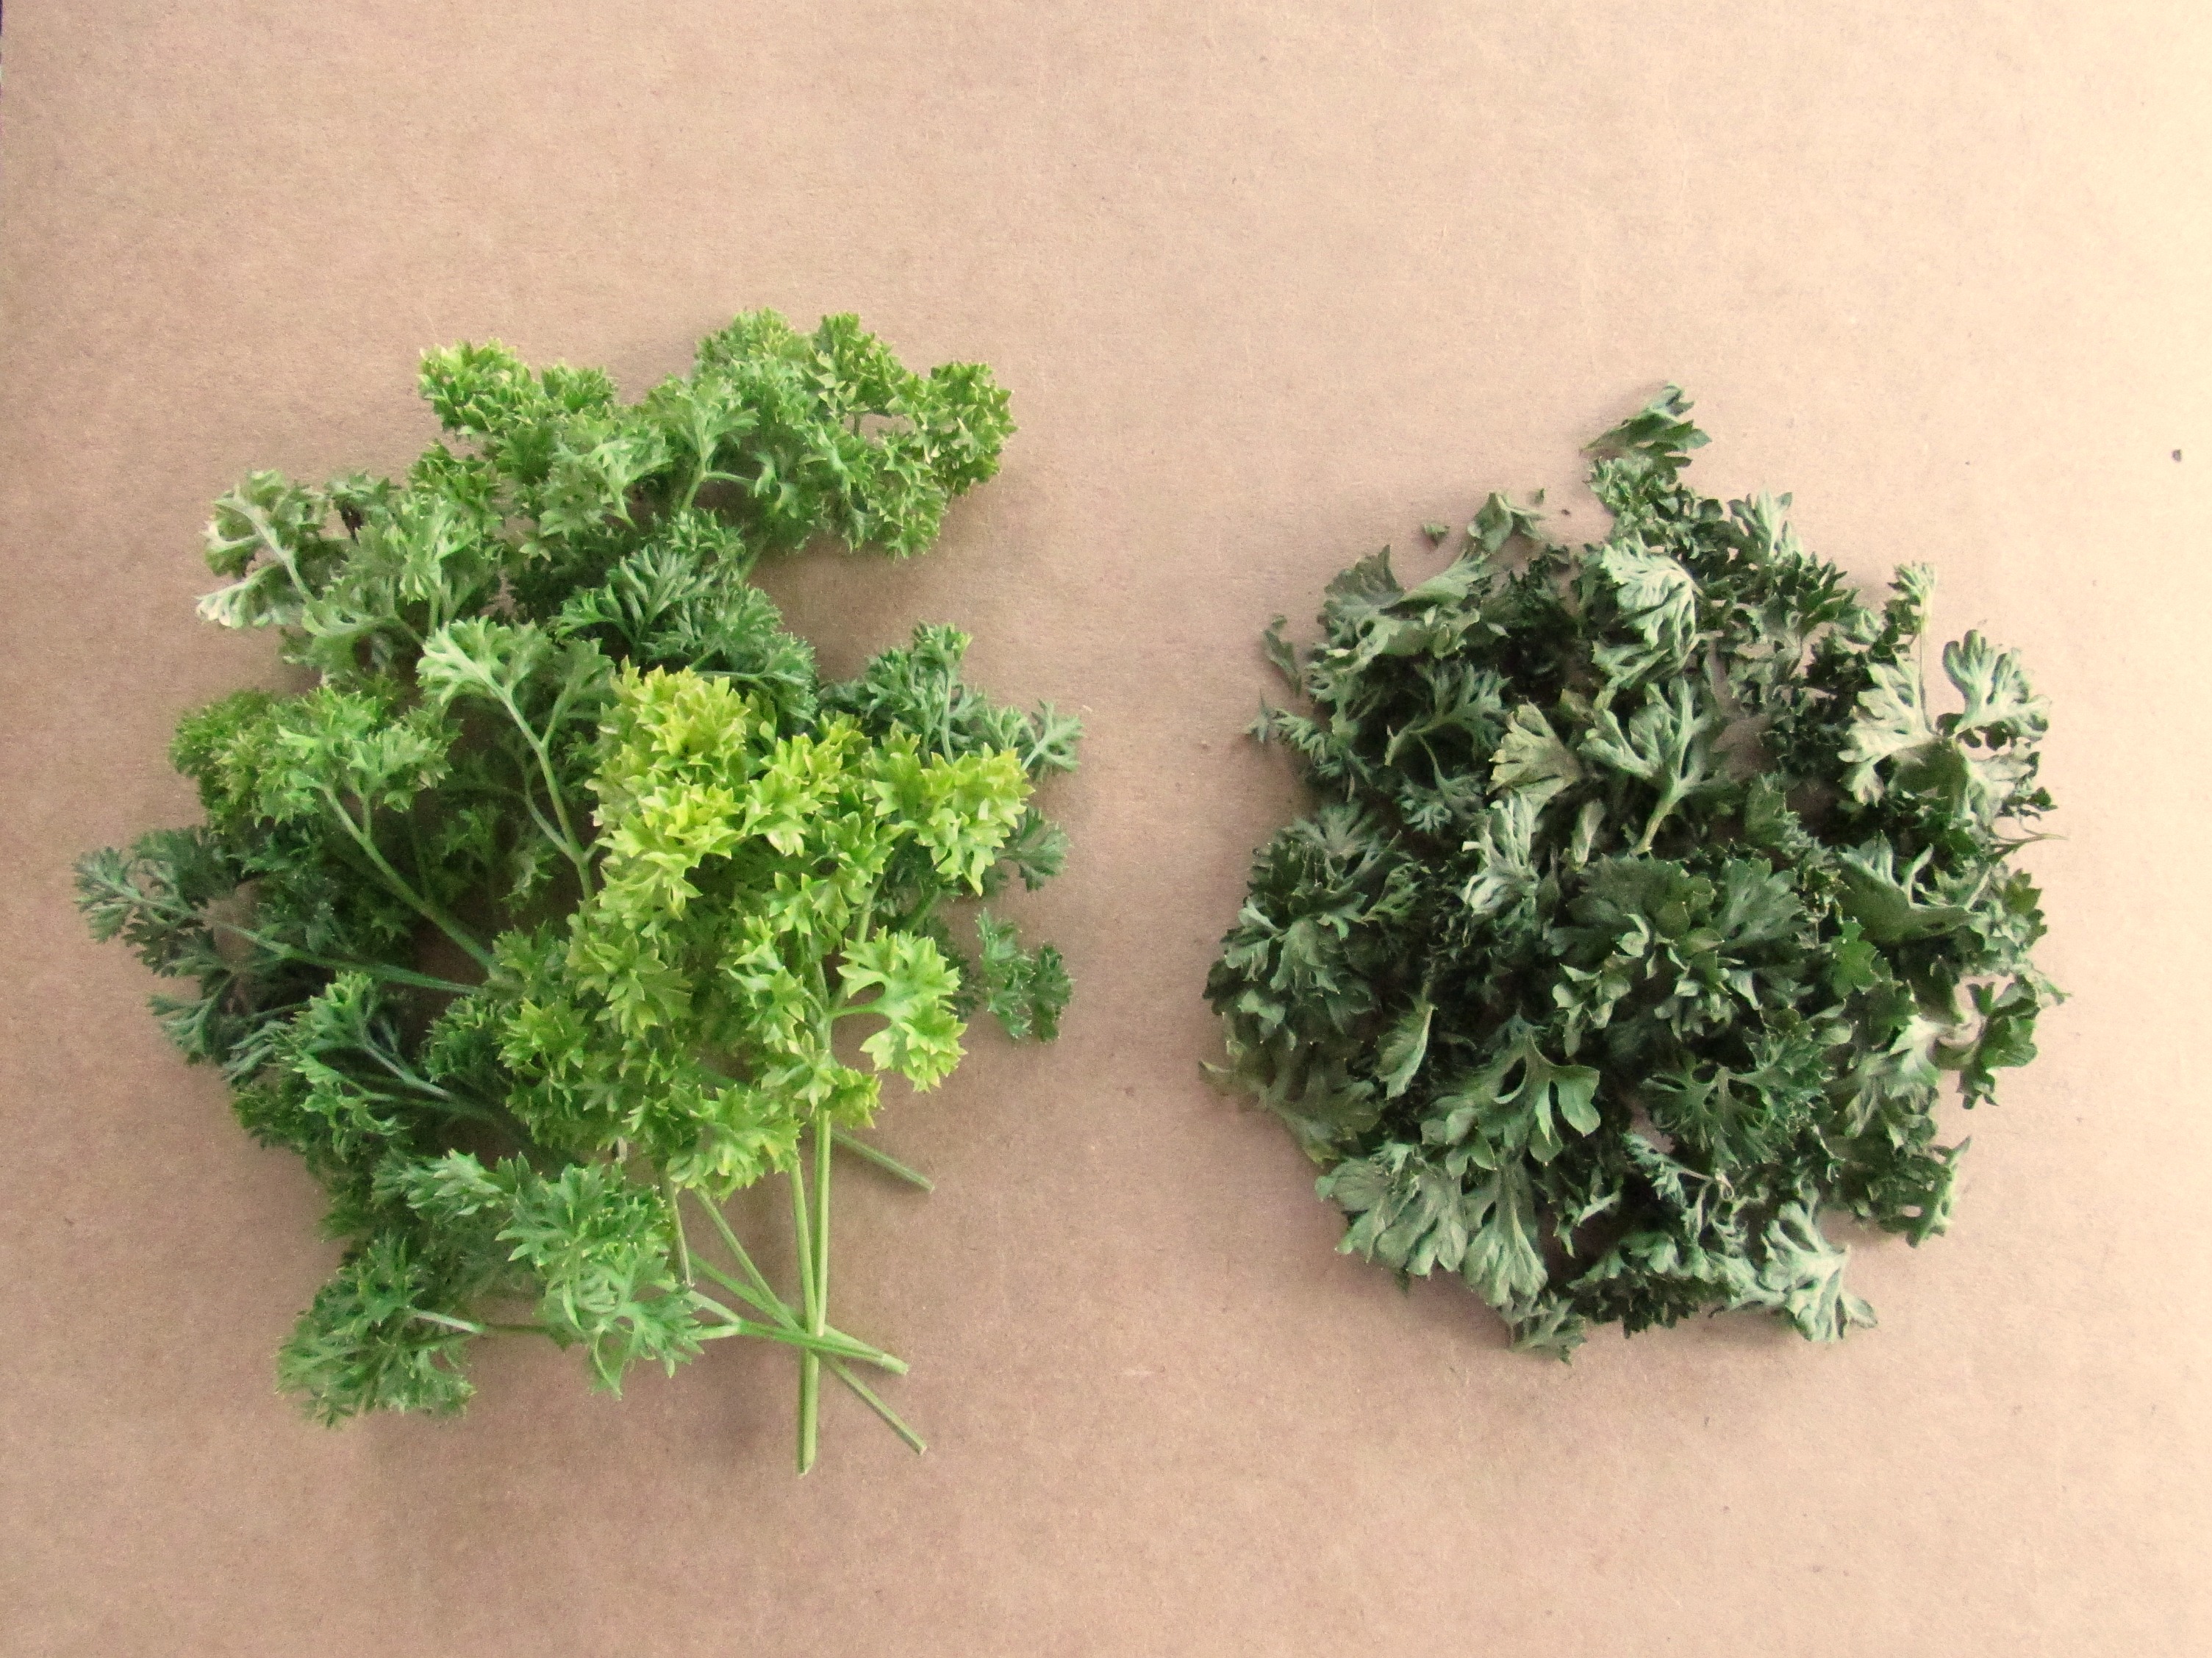
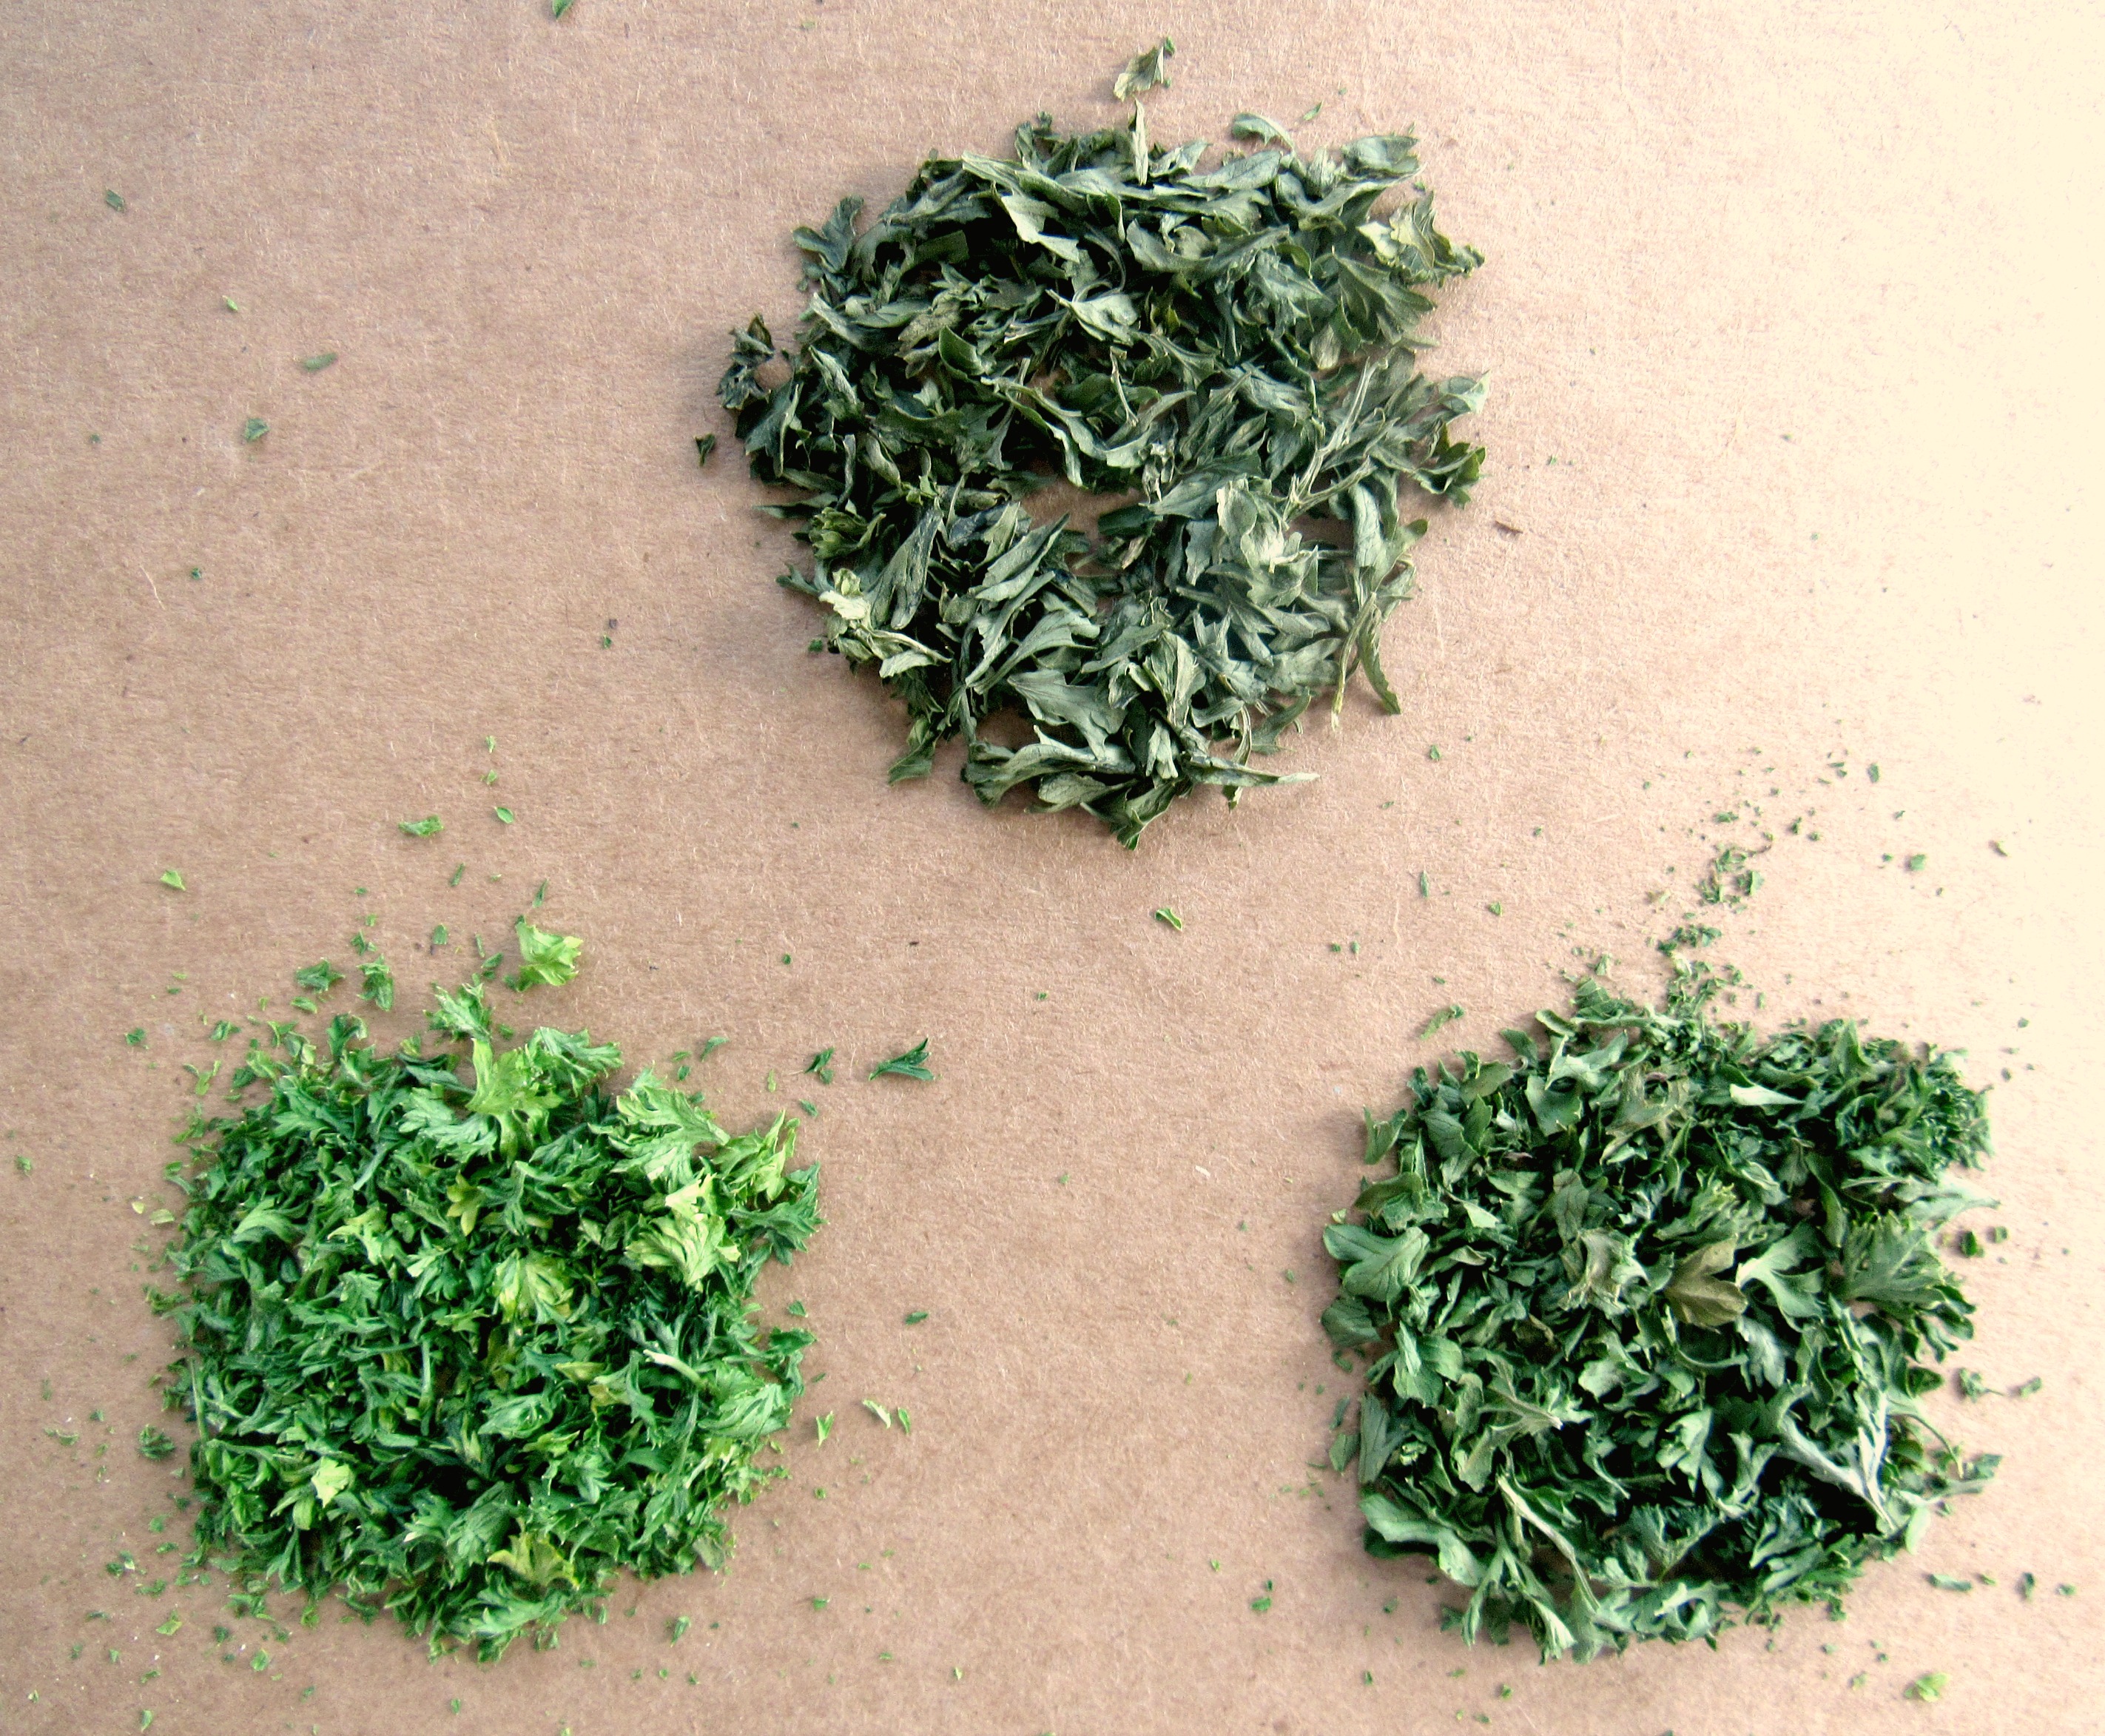
Here is a comparison to store bought dried herbs vs. my own fresh herbs that were dried in the microwave. The bottom right is the parsley that was dried for this tutorial. Bottom left is my own dried herbs two months after storing and the top is store bought. Notice the color differences as well as how much better it holds it’s shape! Plus I know exactly what my herbs were grown with and in!
There you go; my super quick and easy way to dry and store your own fresh herbs…stay tuned for additional herb seasoning mix recipes that I’ll be making with my harvest!