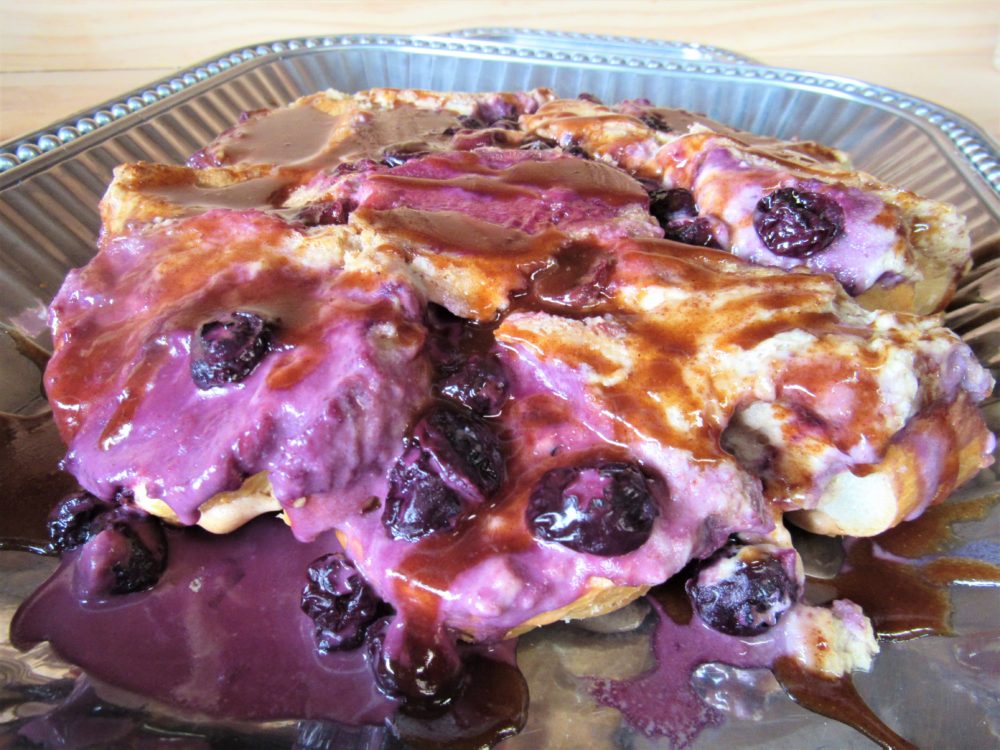
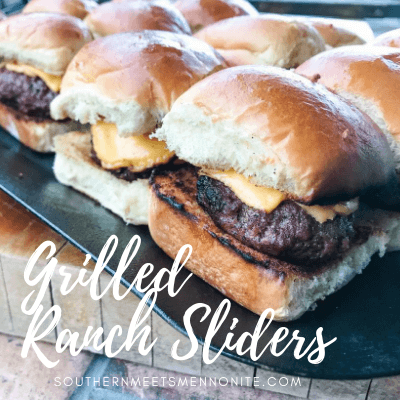
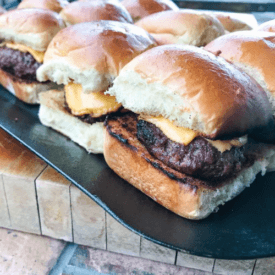
These ranch-seasoned cheeseburger sliders are a great make-ahead grilling recipe, perfect for appetizers or a simple family meal. They’re freezer friendly and cook quickly. We love making them throughout the year!
Watch our video that featured Weldon grilling up these delicious little bites of heaven plus listen to our tips on how to make your family’s mealtime meaningful:
Grilled Ranch Cheeseburger Sliders
These ranch-seasoned cheeseburger sliders are a great make-ahead grilling recipe, perfect for appetizers or a simple family meal. They're freezer-friendly, cook quickly, and are packed with lots of flavors!
Ingredients
- 3 lb ground beef 80/20 is best for this
- 1/2 tsp black pepper
- 1 tsp garlic powder
- 2 oz ranch seasoning 2 - 1oz. packets
- 1/2 tbsp soy sauce
- 2 tbsp worcestershire
- 1 tsp liquid smoke
- 1/4 cup green onions sliced
- 24 hawaiian rolls or slider buns
- 24 slices american or easy melt cheese
- softened butter for spreading on buns
- burger toppings of your choice ketchup, mayo, mustard, pickles, ranch, etc.
Instructions
- In a large bowl, combine the ground beef, black pepper, garlic powder, ranch seasoning, soy sauce, worcestershire, and liquid smoke. Mix with your hands until everything is well incorporated.
- Add in the green onions and distribute evenly within the meat. Portion out into 24 patties, making a small well in the center of each.
- Place in the refrigerator for several hours or up to one day to let the flavors come together. You may also freeze the uncooked patties at this point for later use if you wish.
- When ready, preheat a grill to 400 degrees Fahrenheit and cook each patty for 3-4 minutes on each side.
- After the second side is almost complete, add your slices of cheese on top of each and allow it to melt. Remove the burgers to a holding tray.
- Next, prepare your buns by slicing the contiguous loaf in half lengthwise and spreading butter on the insides. Place them butter-side down on the grill grates for no more than 45 seconds to a minute to brown the edges and toast --they will cook fast so watch them carefully.
- Last, assemble the burgers and buns, then add toppings of your choice. Serve them while they're hot and enjoy!